What can we help you with?
Printing from your Apple MacOS
Go to System Preferences.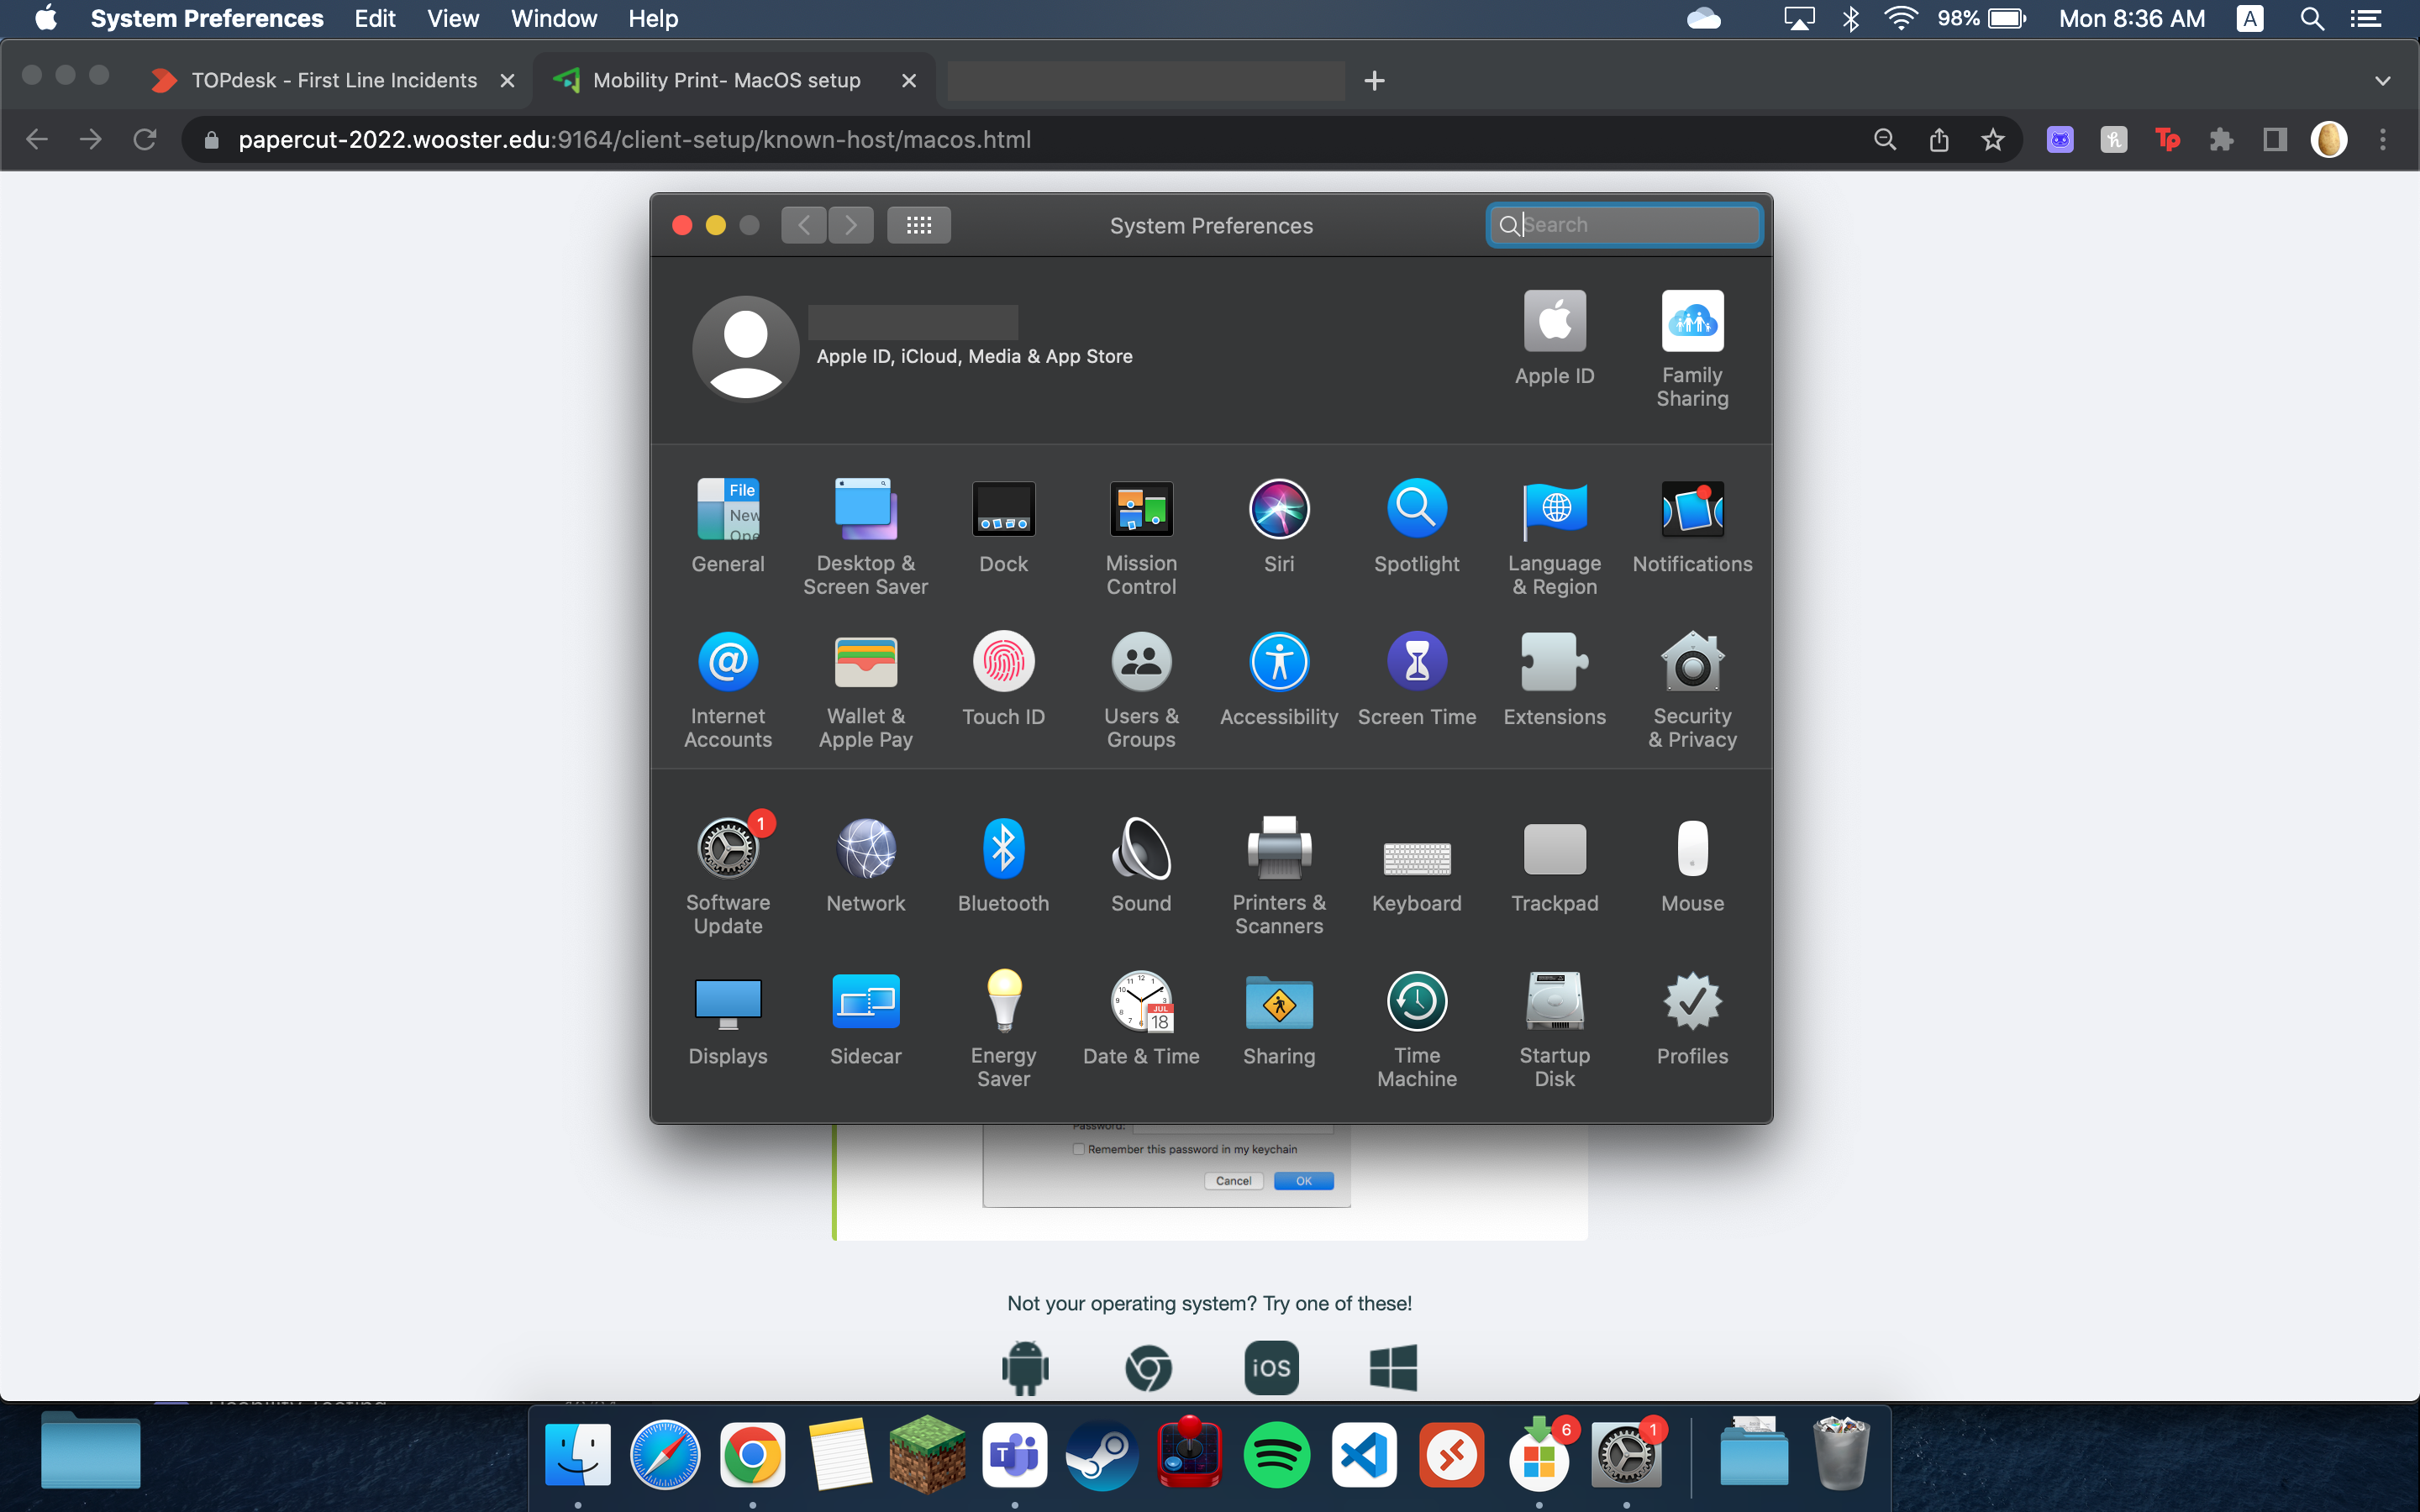
Select Printers & Scanners then Add Printer.
For students, find and select the student-bw-findme or student-color-findme queues.
For faculty and staff, find the fs-bw-findme and fs-color-findme queues.
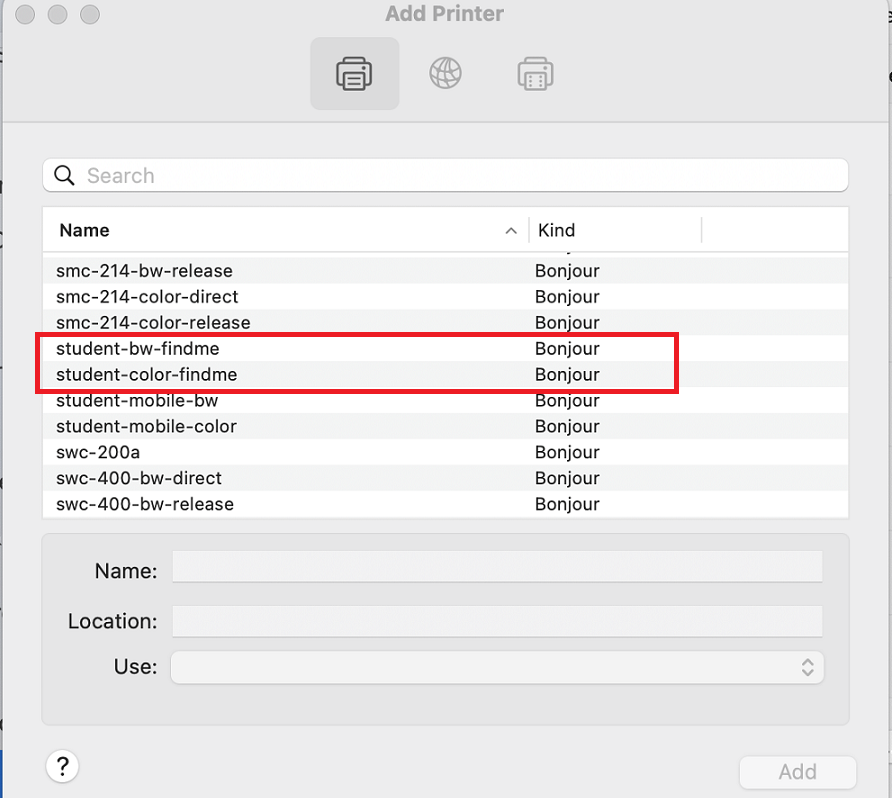
Select Add.
You should now have the printer you chose as a print option.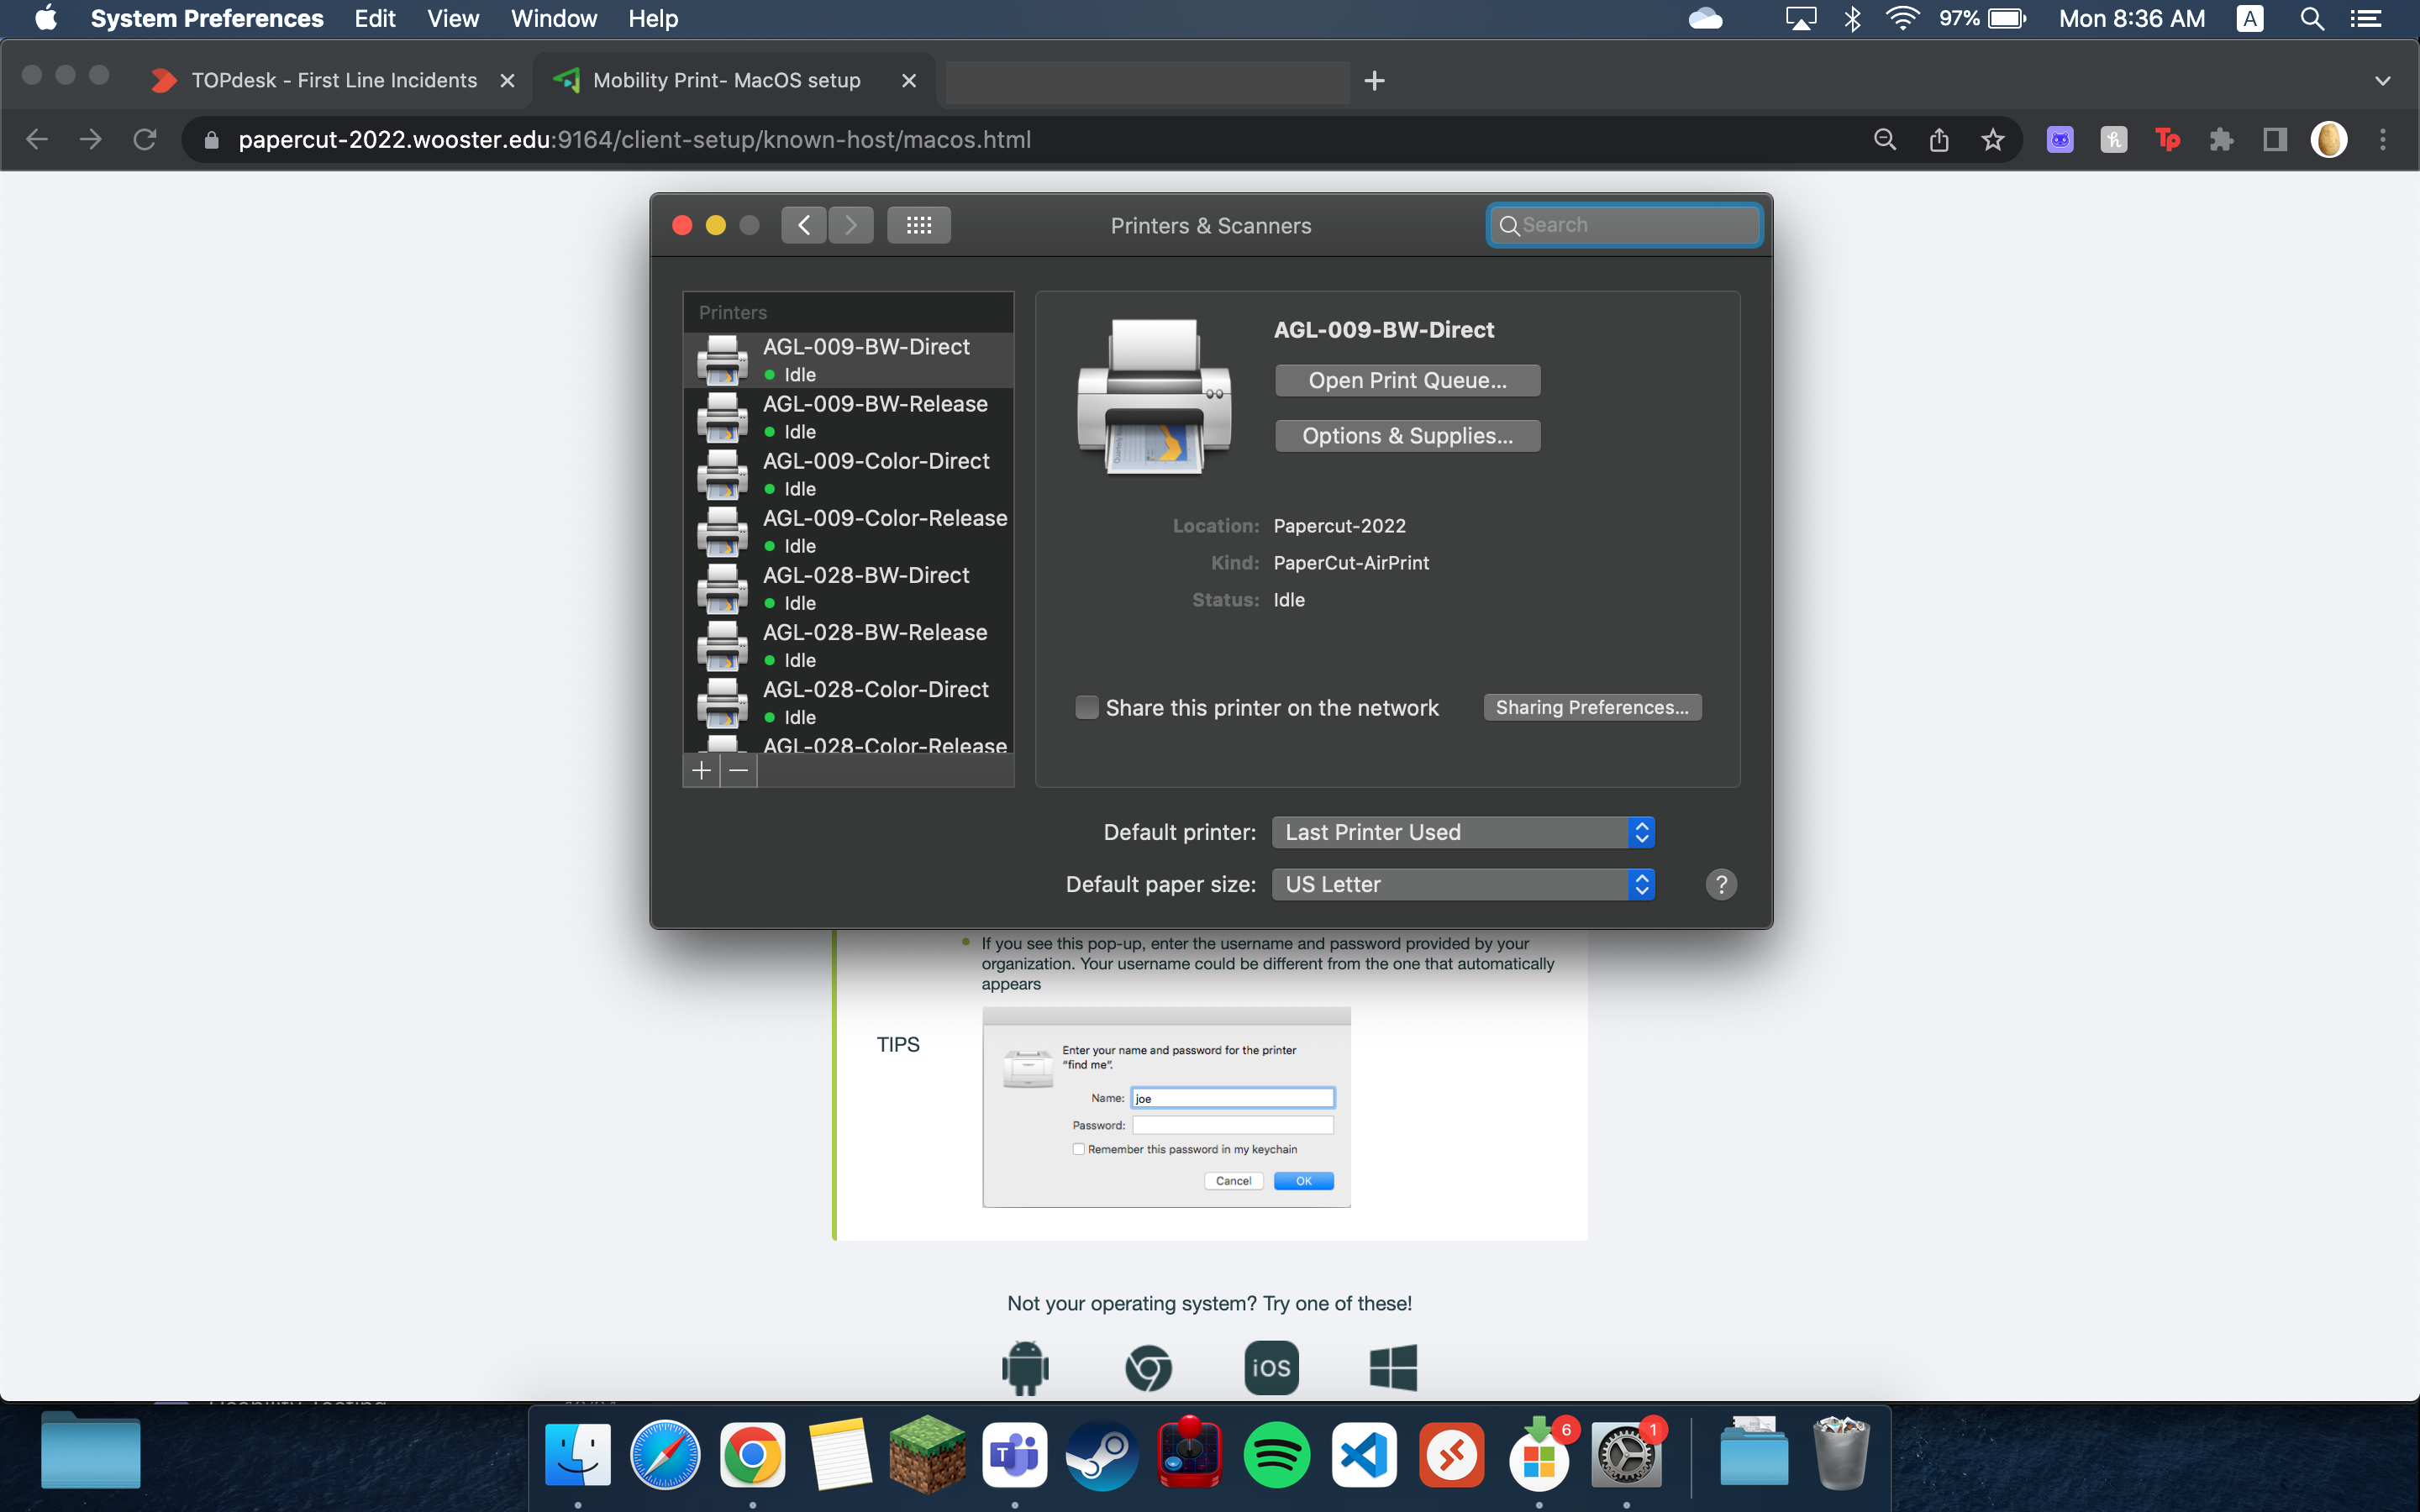
Troubleshooting
Printer list is empty
If no printers show up when you click “add printer”, go to System Settings under iCloud and switch off “Private Relay” if it isn’t already. This is Apple’s built-in VPN service and it can often obscure certain college services. Turning it off should make the printer list appear.
If this doesn’t work, check that you are connected to the College of Wooster network and that “Limit IP address tracking” is switched off in the network settings, and that your device’s Bluetooth is enabled.
If the list is still empty, you will need to follow these instructions to download the Papercut desktop app. Once signed in, navigate to “Add Printers” and find the student printer queues in the list. The printers should then show up in System Settings.
Searching for Printers/Printers NOT Found
- Check that the computer is connected to the College of Wooster Wi-Fi
- Start by deleting the printers from Printers & Scanners
- Then complete the above printer install steps
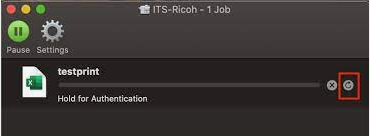
Hold for Authentication Error
If you receive the Hold for Authentication error, select the refresh button and enter your College of Wooster username and password. Click the “Remember this password in my keychain”. You will need to update this password each time you change your Wooster password.

Checking Printing Status
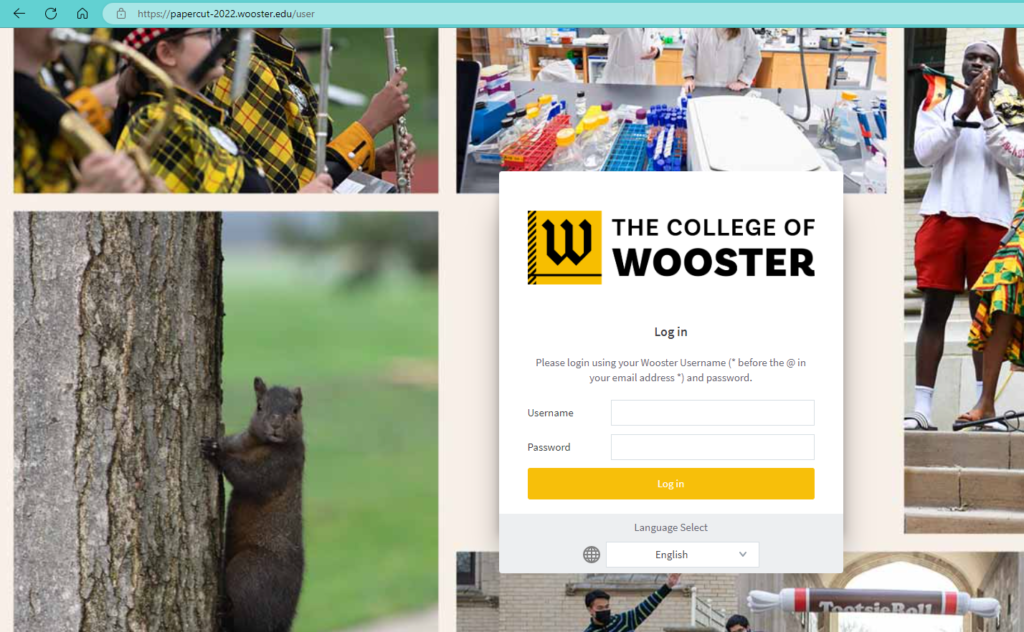
- Go to PaperCut Login for College of Wooster
- Log in using your College username and password
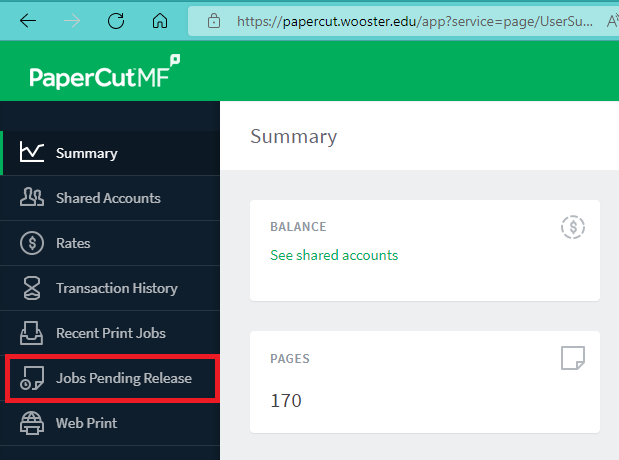
- Click on Jobs Pending Release
Printing Denied

Check the paper size. Students cannot print using A2, A3, A4
Set the paper size to Letter
***If the error persist contact the Helpdesk by emailing helpdesk@wooster.edu for assistance.
