What can we help you with?
Conference Kit Instructions
When meeting with a small group or class and having a remote participant it may be helpful to have a more powerful microphone and a movable camera. Here are instructions to assist in the setup and use of the conference kit within Teams.
Step 1:
Setup the Microphone, Camera, and USB-C Adaptor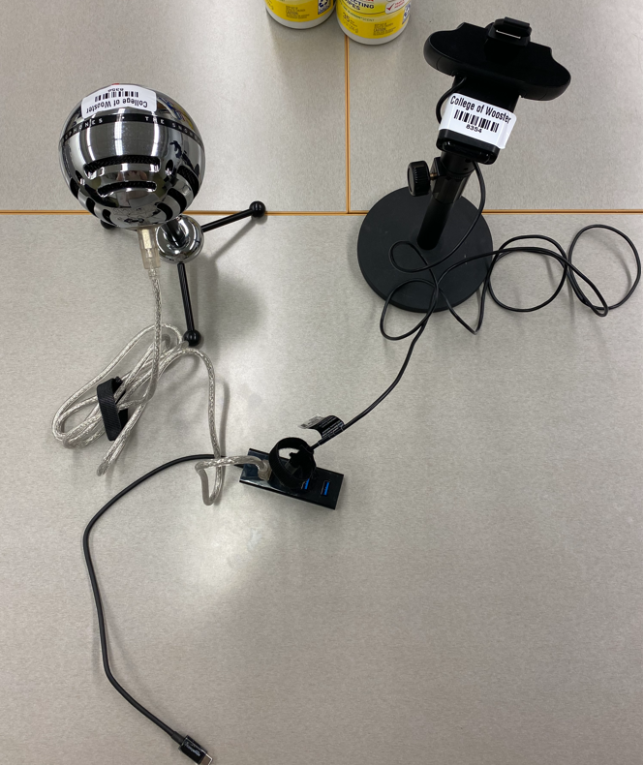
Step 2:
Connect the USB-C Adaptor to your computer.
Step 3:
Allow the devices to be recognized and installed by your computer. You may see pop up like the ones below.
**For Mac user you may have to allow the installs by going to System Preferences>Security & Privacy>Allow Install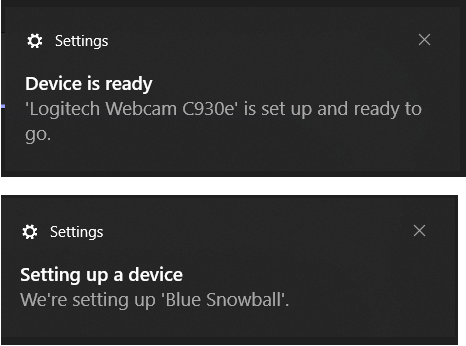
Step 4:
Launch your Teams meeting. You can use the Meet Now feature or join an already scheduled meeting. If this is your first time using a Conference kit we recommend doing a practice meeting with the Meet Now feature.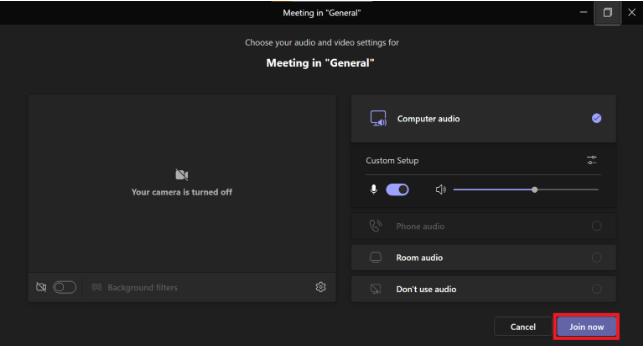
Step 5:
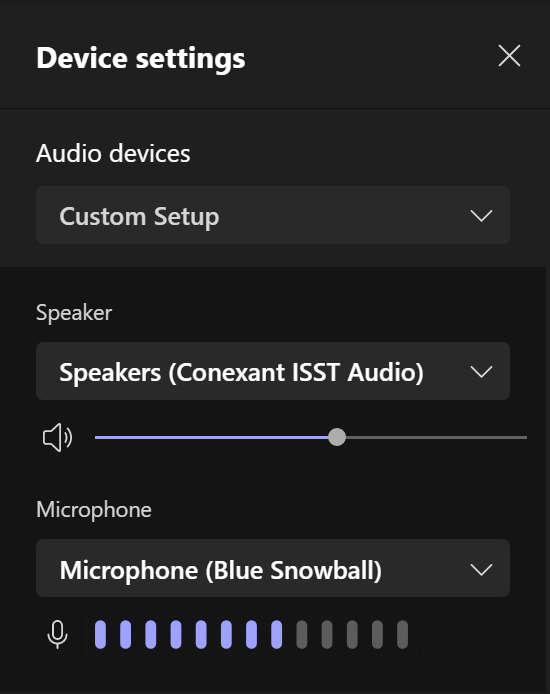
Device settings should change automatically, but in the event they do not you can follow along with the images below to adjust the settings.
Step 5a:
Select the 3 dots (More Actions) in the top ribbon to get to the Device settings.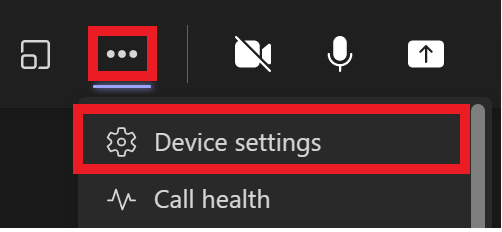
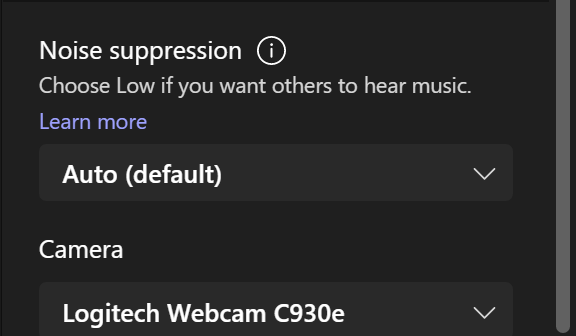
Step 5b:
From Device settings you should be able to make changes to the Audio devices and Camera. The images below show what the settings should look like with the Logitech camera and Snowball active.