Hey, what answers do you need?
< All Topics
Print

McGaw Chapel

Atlona rooms How To: 

Atlona is the manufacturer of the system installed in this room. Its Touch Panel looks like this. 

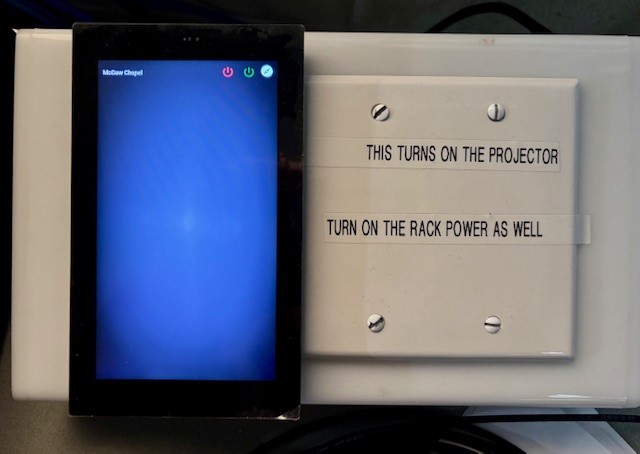
Power Projector On/Off:

This classroom has a touch panel that controls the projector. To power on just hit the green button on the touch panel that says power on. The red off button will turn off the classroom. 

Wired Projection: HDMI or USB C. Plug your device into one of these cables to display on the projector. The cables are already attached and hanging in the room. The image will switch automatically when you plug in with any wired connection. It will take a few seconds for the image to appear. 

Wireless projection: This will work better if your Bluetooth is turned on. BYOD (Bring Your Own Device) allows you to connect wirelessly via Apple’s Airplay (screen mirroring) or Windows Miracast. Once you try to connect a 4-digit code will appear onscreen in the upper left. Enter that code in the message that prompts, and you should connect within 5/10 seconds.  For Windows PCs push the Windows button and K at the same time. Look for the code.  

Projector Screens Up/Down: 

The projector screens will drop and rise automatically when you press the power on /power off buttons.  

Source Select

The switcher will recognize when you plug in a new wired connection via HDMI or USB C. If you are using multiple devices and want to switch, press the blue sources button and it will give you a list of the different inputs you can switch to.  

Volume Control 

Audio control is on the bottom of the touch screen. 

Camera System

There is a USB-A cable that connects to your laptop. Once you are in Teams you need to select HDL300 as your microphone and speaker as well as one of the HDVS cameras. There are presets built into the macro settings on the Touch Panel that control where the cameras point.  

Table of Contents