
What can we help you with?
Schedule a Recurring Email Using Power Automate
How to Create a Recurring Email
- Open a browser and go to portal.office.com.
- Sign in using your Wooster email and password.
- Locate and select the waffle in the top left corner of the page.
- Find and click the app “Power Automate”.
- If you cannot find it in the selection, click “More Apps” and on the new page that loads select “All Apps”.
- From the left side menu, select “Create”.
- From the “Start from blank” menu, select “Scheduled cloud flow”.
- Give your flow a meaningful name.
- Set the “Starting” date and time as well as how frequently the flow will run.
- Click “Create”.
- Once the flow loads, you will see the image below.
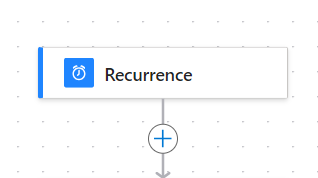
- Select the plus symbol and click “Add an Action”.
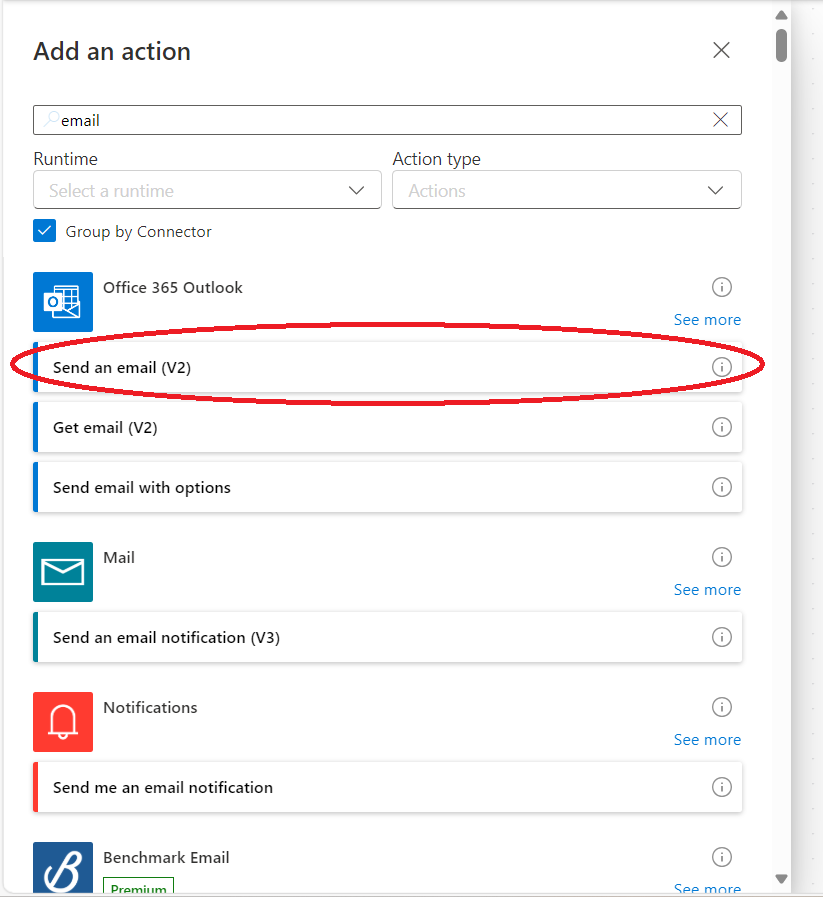
- Type “email” in the search field in the menu on the left side of the screen.
- Select the “Send an email (V2)” option.
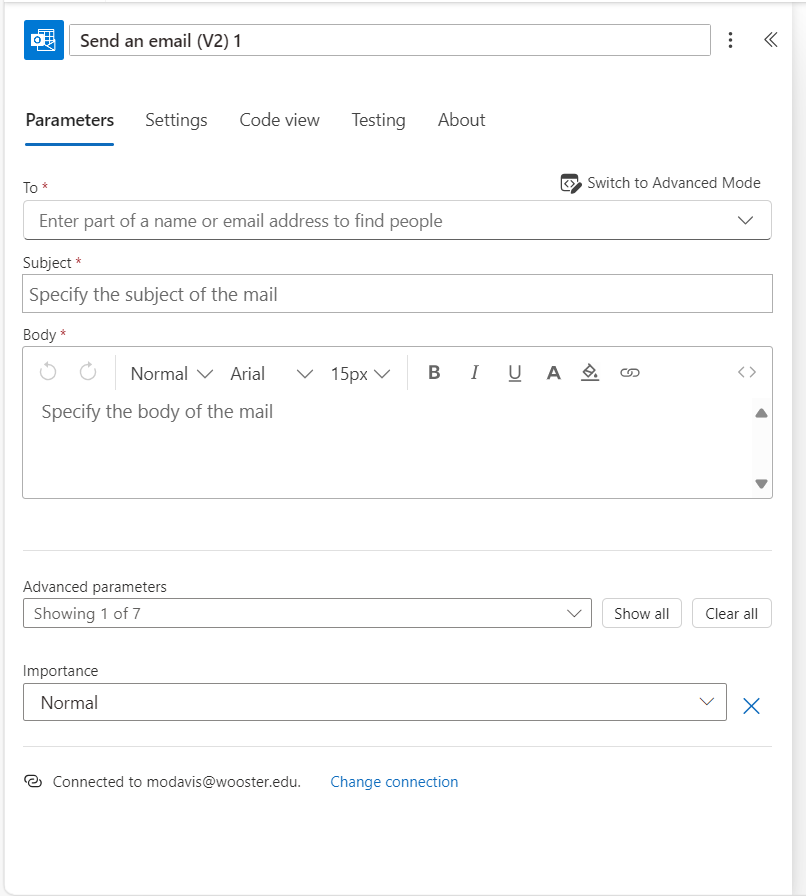
- Fill in all fields with the red star on the left side of the screen.
How To Add a Microsoft Forms Link in the Email Template
- From the body of the email form, type a Title for the link.
- Highlight the Title you typed.
- Click the link icon in the ribbon of the “Body” section.
- In the small bar that appears, click the pencil and paste the link of the form into the space provided.
- Remember to open the Microsoft Form you are trying to link and click “Collect Responses”. Select “Copy link”. This will be the link you want to use in the email form.
- Next click the checkmark at the end of the bar to save the link.