
What can we help you with?
Using an Exchange Room Resource
Scheduling a Meeting Using the Room Resource If Explicitly Allowed
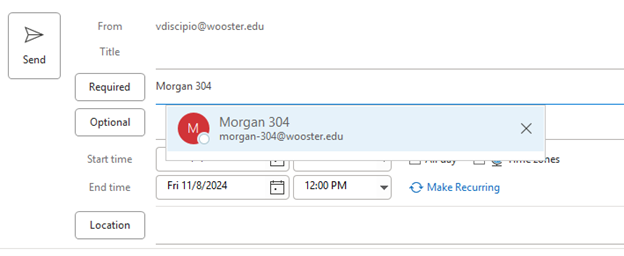
- From your Outlook calendar, click “New Meeting” if you are on a Windows device and “New Event” if you are on a Mac.
- Enter the normal meeting information, but on the “Required” line include the room name with the other attendees or on the “Location” line type the room name.
- To make sure the space is available, click “Scheduling Assistant” in the menu bar.
- Then select a time when all attendees and the room are available.

Require Approval for Scheduling the Room Resource
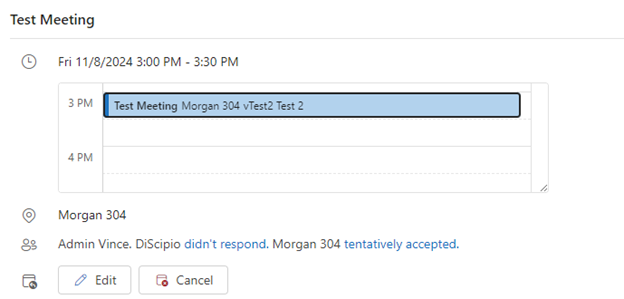
Users who are not given explicit access to schedule a space can create an event in the same manner as noted above. However, their request will go to the delegate of the room resource for approval. The requester will receive an email stating the request was received and is pending approval.
As shown below, the meeting requester will receive an email noting the space has “tentatively accepted.”
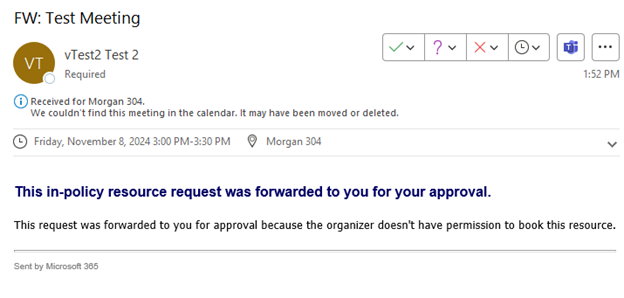
The delegate responsible for accepting meetings will get an email as seen below with a request to approve or decline the event.
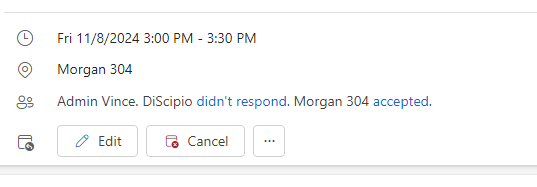
Once accepted or declined, the meeting requester will get another email.
Allowing Users to Automatically Schedule a Meeting
For a room resource, an individual will be set as the room delegate. The room delegate receives requests to schedule the room and needs to approve all meeting requests. In order for a group or individual to book an available resource room without needing approval, the room delegate will need to give permission in the resource room’s Outlook Web App.
Delegates: Follow the steps below to give permission via the Outlook Web App.
- Login to https://login.microsoftonline.com
- Click the waffle and choose Outlook.
- Click on your profile picture and choose “Open another mailbox”.
- Enter the email address of the room resource and click open.
- Click the gear icon in the upper right corner of the browser window.
- Click “Calendar” in the first column.
- Click “Resource scheduling” in the second column.
- Scroll down to “Scheduling permissions” and click the radio button by “Specific people and groups”.
- Enter the names of the people and groups that should be able to automatically schedule the space.
- NOTE: A good starting point would be your departmental team.