
What can we help you with?
Printing from the Web Portal with Papercut
Introduction
Web printing on PaperCut allows students without the PaperCut Client to print to the public devices.
Accessing the Web Portal
- Open a web browser and navigate to Papercut Web Print
- Log in using your network credentials.
Printing from the Portal
1. Click “Web Print” in the sidebar, then click “Submit a Job.”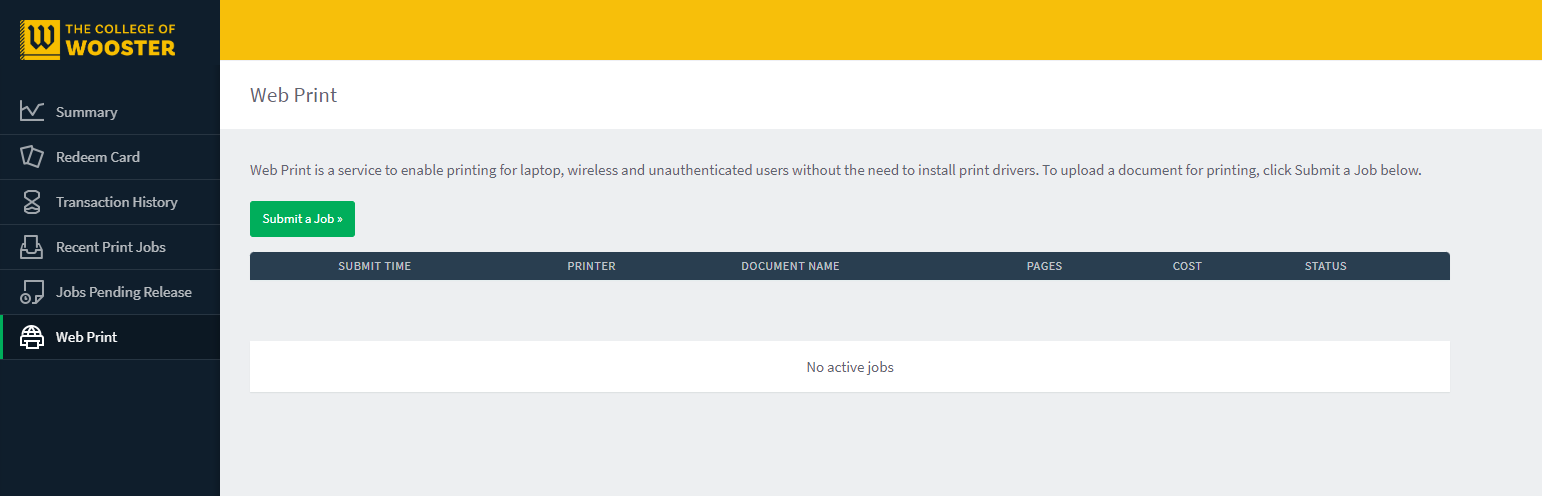
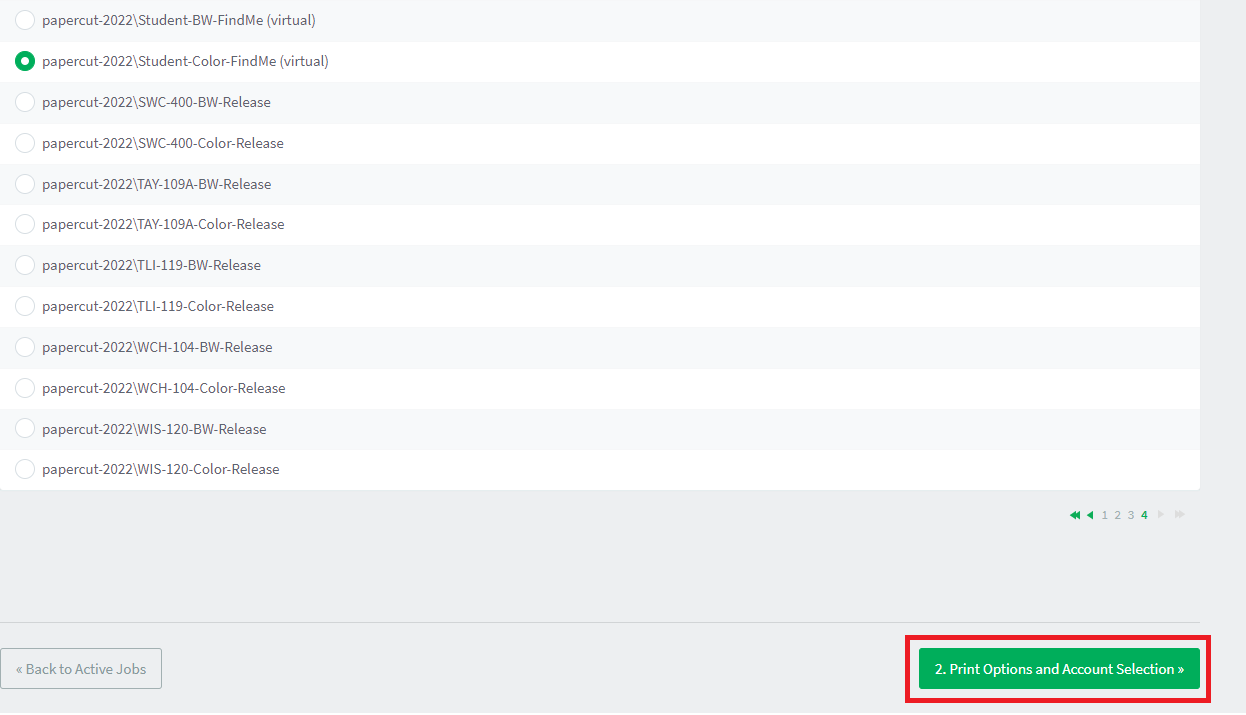
2. This brings up a screen with a list of printers. Select the desired printer and click “2. Print Options and Account Selection.”
IMPORTANT: If you are having issues with the student printers, make sure you are selecting an option beginning with “papercut-2022”. Options beginning with “mobileprint” can cause errors or inconsistent behavior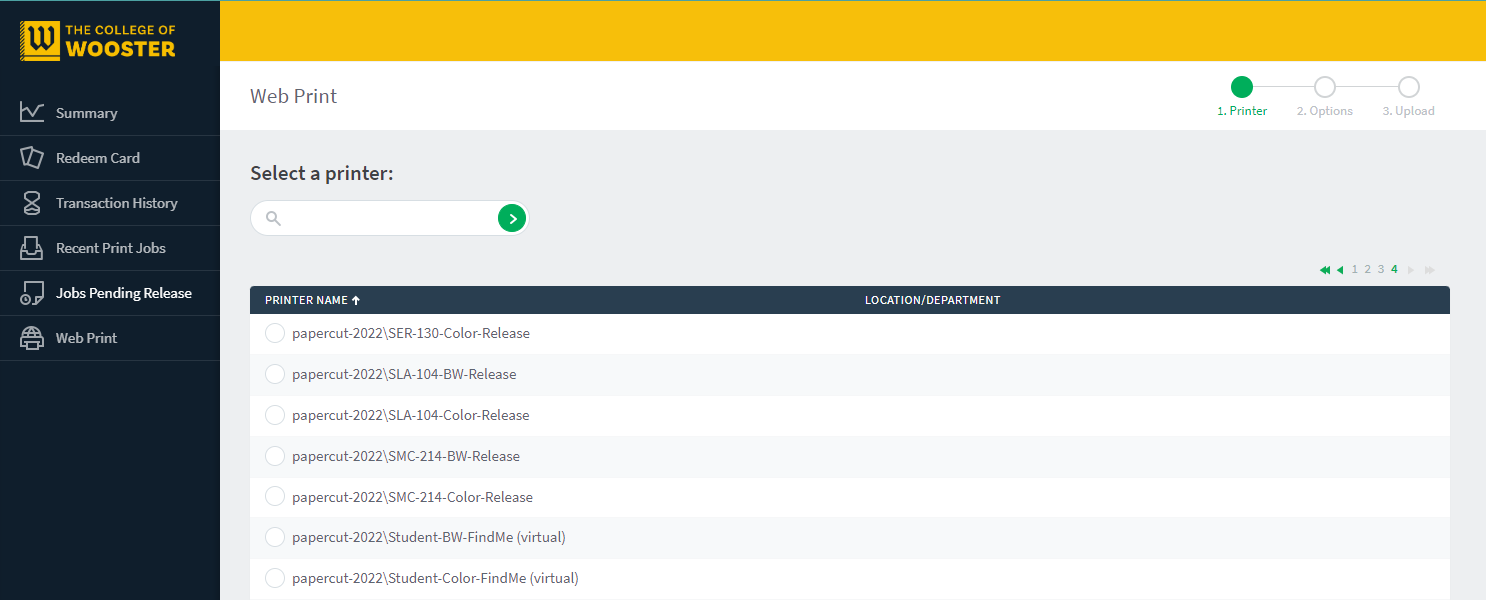
3. Select the number of copies you want printed and the account to charge it to (will usually be your personal), then click “3. Upload Documents.”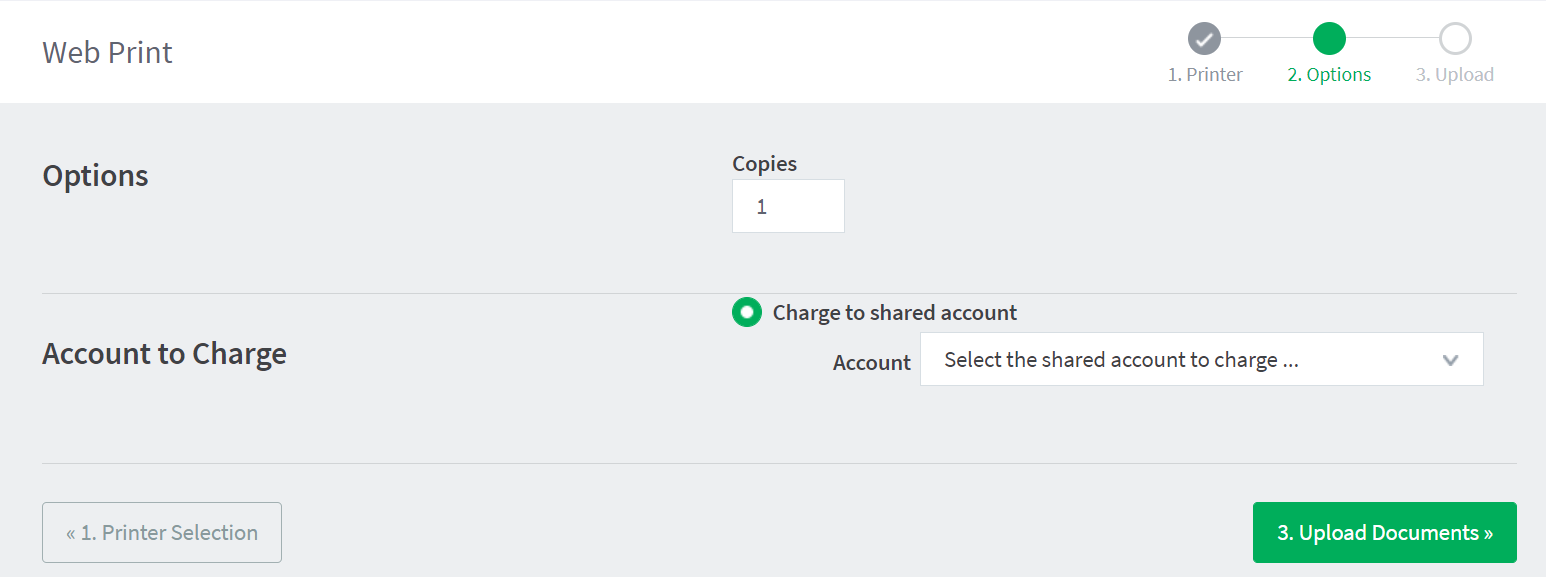
4. Upload your documents. Please note that you may ONLY print the designated file types – .pdf for any written documents and other specified image formats. You can export to a PDF file from Microsoft Word.
5. Select “Upload & Complete.” You’ll then see that it’s been added to the queue, and can be printed from the public devices.