
What can we help you with?
Creating a Poster using PowerPoint
Creating your Poster’s Layout
PowerPoint makes it fairly easy to start designing your poster. It helps to have an idea of your overall layout before you begin, so before you start creating your poster, be sure you have planned and designed everything first!
You will create your layout by using the slide layout options in PowerPoint or by creating the elements by placing text boxes and inserting images in the appropriate places for your design. That’s all there is to it. If you need help getting started, you can Contact Educational Technology or meet with a student digital media assistant.
Creating the correct size
***Important: The roll of paper for the poster printer is 36 inches wide. This means that either the width or height of your poster can be no more than 36 inches with a margin. As long as either the width or height is 36 inches, the other dimension can be longer
You can download a 36×48 inch Poster Template.pptx
To adjust the slide size
Open a new PowerPoint presentation.
Select the Design tab.
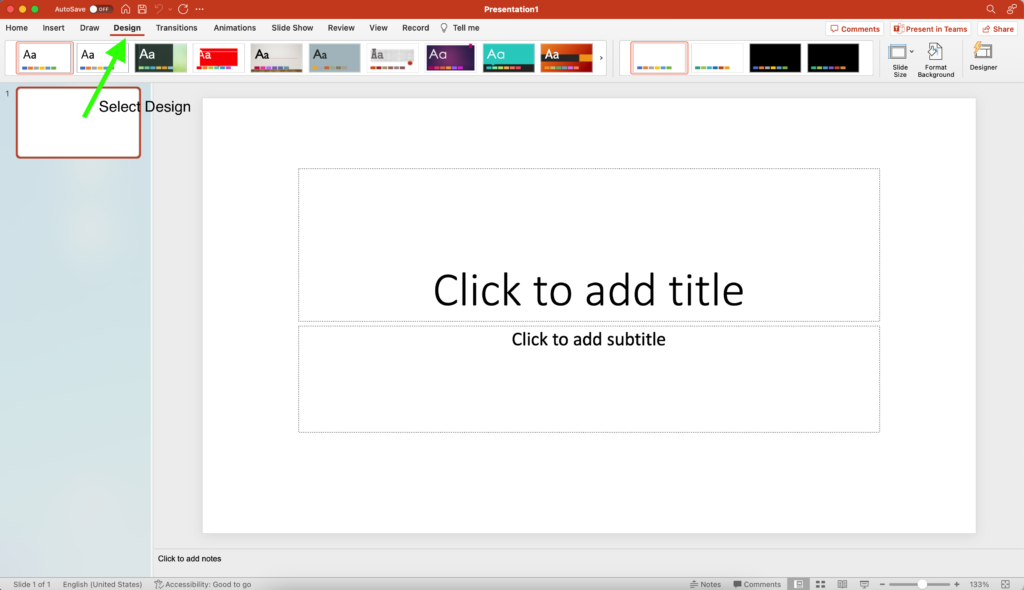
In the Design tab, click on Slide Size.
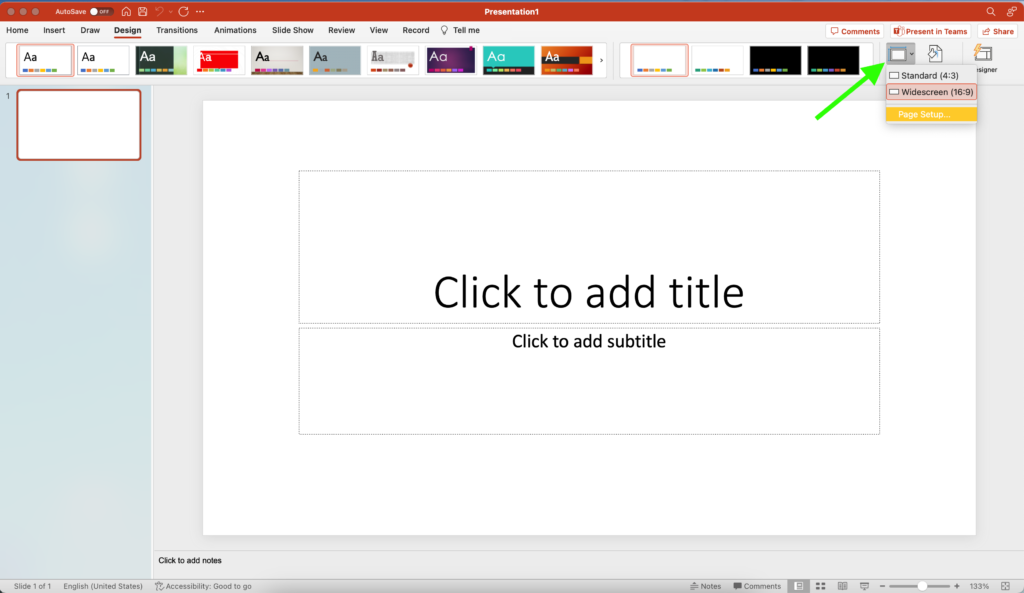
From the drop-down menu, select the option Custom Slide Size (PC) or Page Setup (Mac).
In the Slide Size dialogue box, from the Slides sized for dropdown list, select “Custom.”

Enter the desired width/length of your poster (e.g 48 in wide and 36 in high). You may be asked if you want to scale up content when you increase the slide size. Choose to scale up.
Click OK.
Saving as PDF
Save your document as a .pdf.
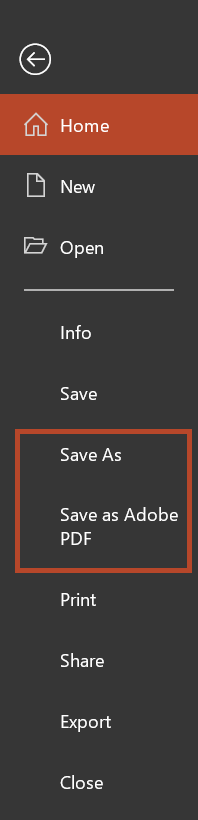
Windows
- From the File menu, select “Save as” and select the file type as PDF, or you can select “Save as Adobe PDF”.
- Select your save location (i.e. On the Computer, in your OneDrive, etc.)
Mac
- From the File menu, select Export.
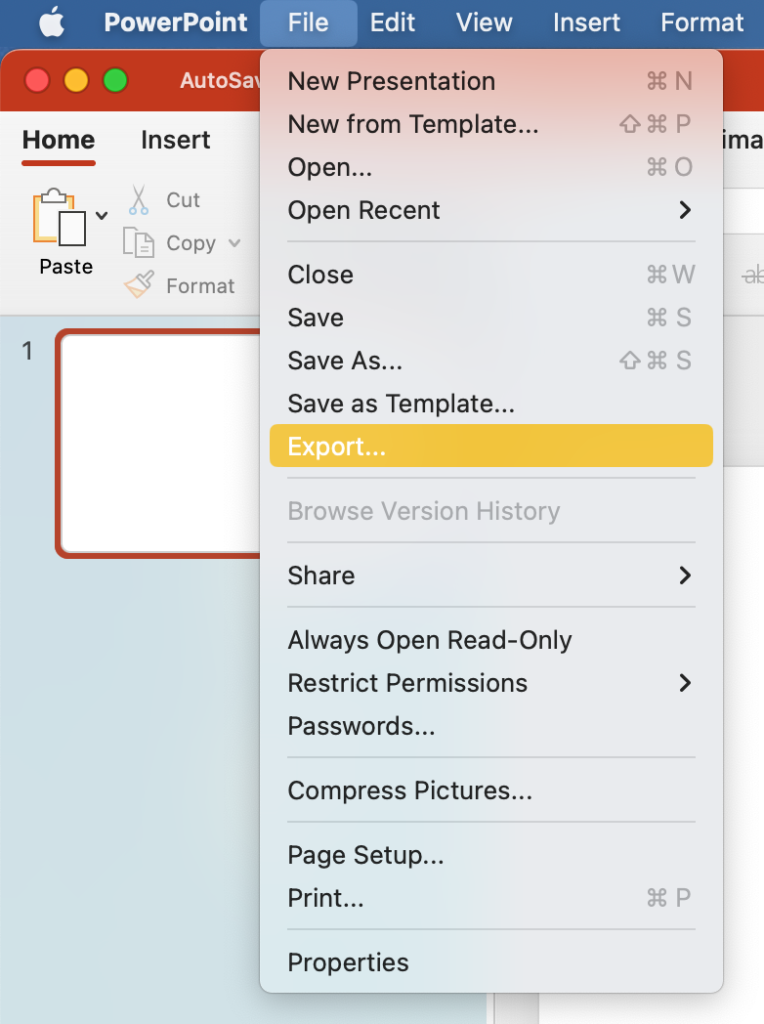
2. On the File Format dropdown, select the “PDF” option.
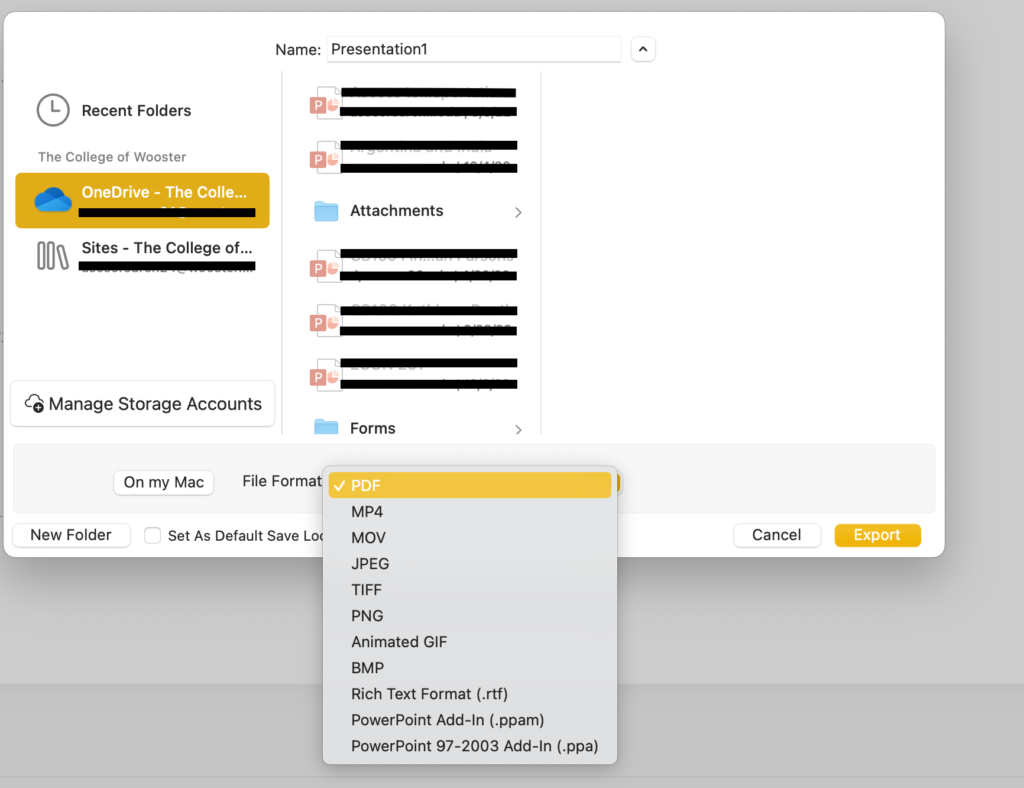
3. Select the Export button.
When you are ready to print your poster
Submit the PDF to be printed by using this form.
For more details, visit our article Print a Poster.