
What can we help you with?
Adding or Changing Your Profile Picture
Who this is for: all College users. Your Microsoft 365 profile picture shows in Teams, Outlook, and Moodle.
Time: about two minutes. You set your picture once, in your Microsoft account. It then carries over to the connected services listed below. You do not set it separately in Moodle.
Before You Begin
- Have the image saved on the device you are using.
- Supported formats: JPG, PNG, GIF, BMP, or TIF.
- Maximum file size: 4 MB.
- A square image works best. The picture displays inside a circle, so the edges of a tall or wide image are cut off.
Change Your Picture
- In a web browser, go to myaccount.microsoft.com.
- Sign in with your College username and password.
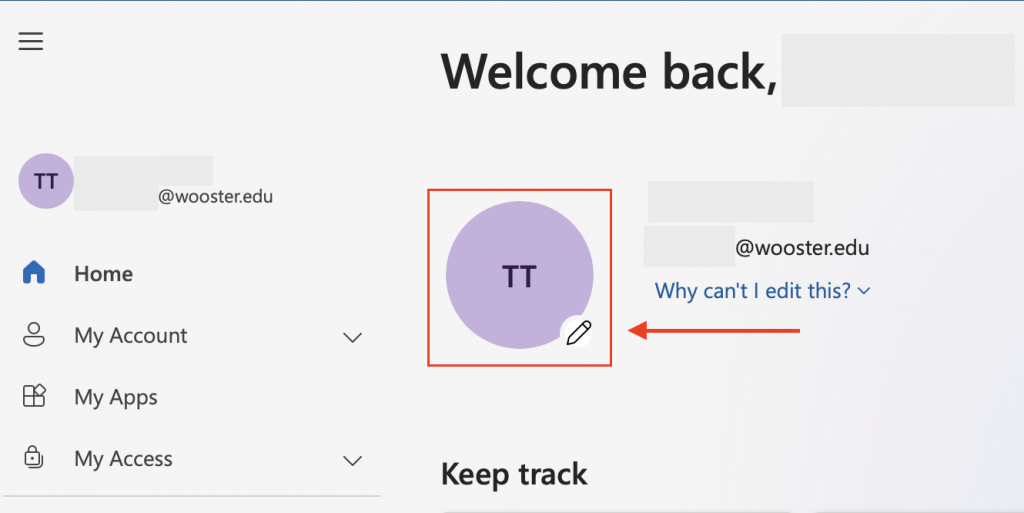
- Select your current photo, or your initials if you have no photo yet. It is the circle near the top of the page.
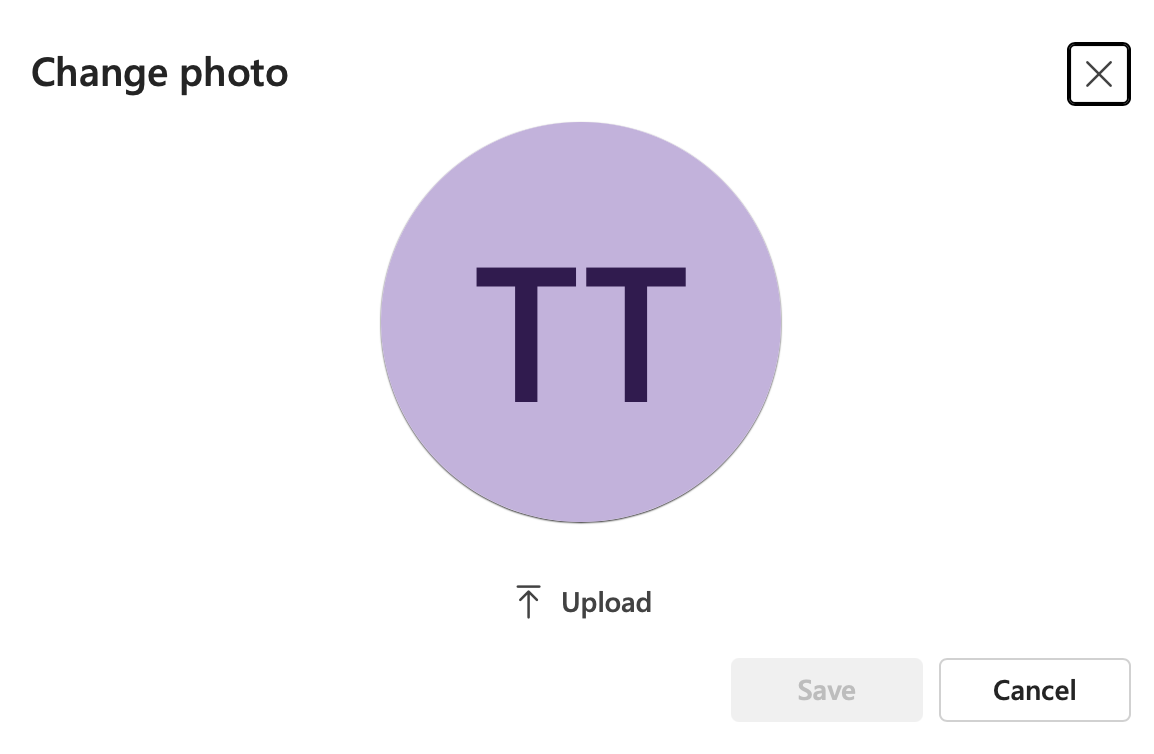
- Select Upload and choose your image.
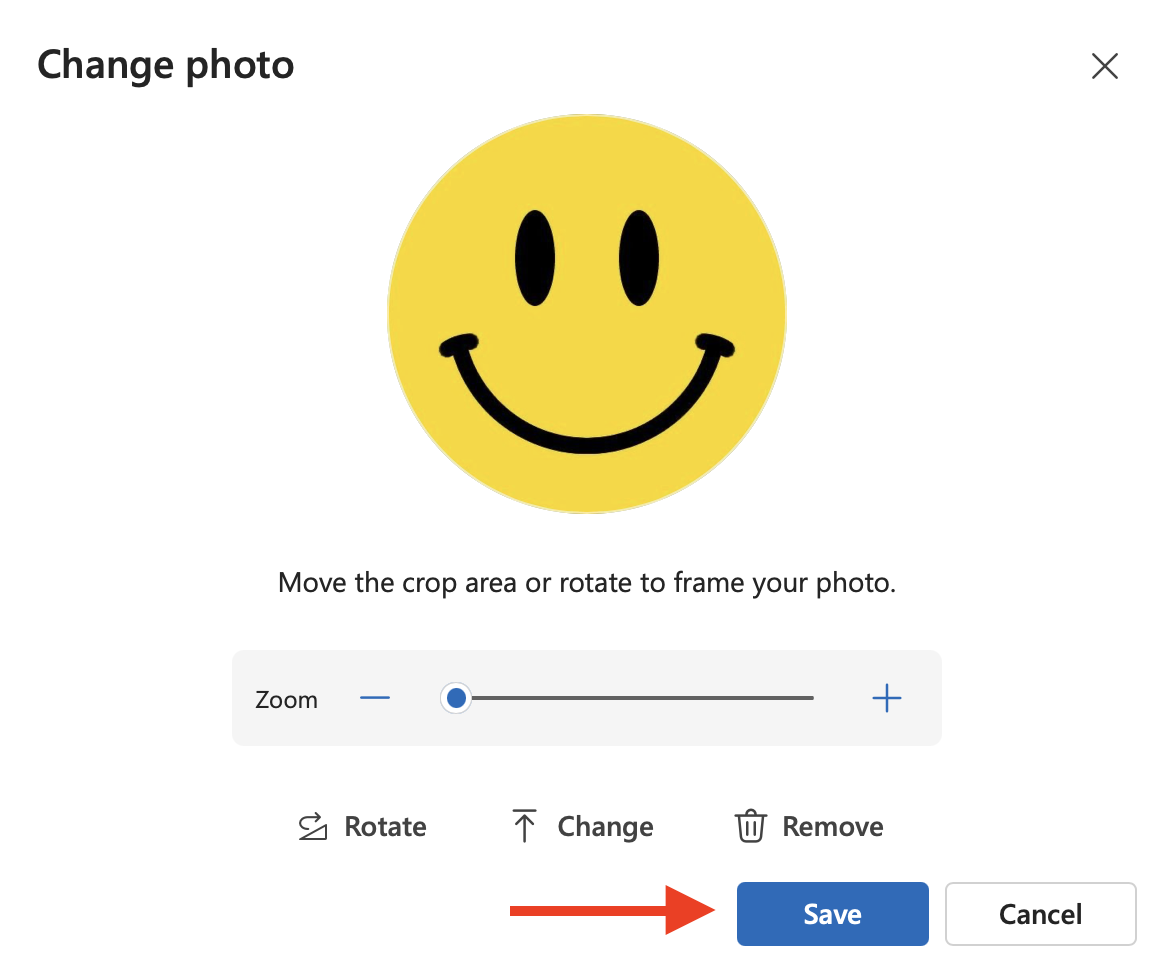
- Select Save.
Where Your Picture Appears
The new picture replaces the old one in the places below. It may not show everywhere right away.
- Teams: profile circle, upper right.
- Outlook (web and desktop): profile circle, upper right.
- Outlook messages: next to your name on messages you send.
- Moodle: profile menu, upper right, after your next Moodle sign-in.
If the Picture Does Not Appear
- Sign out of the app or site where the picture is missing, then sign back in.
- For Moodle, sign in using the OpenID Connect button on the Moodle login page. The picture carries over during that sign-in.
- Wait [confirm: how long to wait] before uploading the picture again.
- If it still does not appear, contact the Help Desk using the information below.
Getting Help
If you run into any issue during setup, contact the IT Help Desk.
- Email: helpdesk@wooster.edu
- Phone: 330-287-4357 (330-287-HELP)
- Walk-in: Burton D. Morgan Hall – Help Desk, 4th floor
- Hours: Monday through Friday, 8:30 am to 5:30 pm