
What can we help you with?
Using Classroom Technology in Teams Meeting
Know your technology
Information and Planning has made improvements to a number of classrooms to support remote learning and lecture capture. Video Conferencing Classroom Technology looks different for each space, be sure to know what technology you will have available to you.
If you are in a fully upgraded teaching space, you have multiple cameras to control and set within your Teams meeting.
Connecting technology to your Device
- Bring your own device and power cord (you may need a dongle depending on your device)
- Projector:
- Wired: Connect the HDMI cable to your computer or dongle
- Wireless: Power on the classroom projection system and connect your device
- Camera: Plug the USB Cord labeled “Camera USB” into your computer or dongle
Teams settings to use classroom Technology
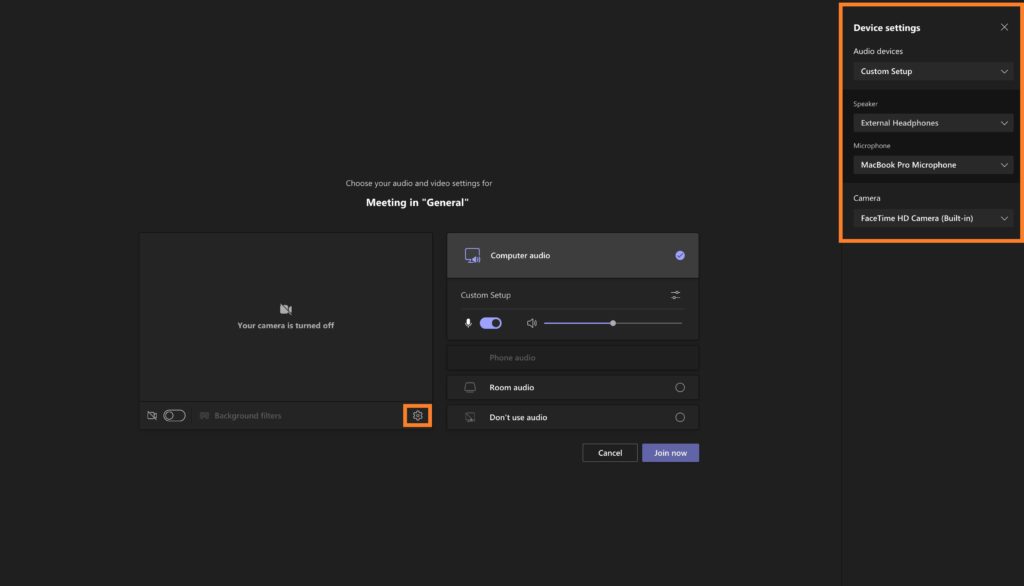
- Once the meeting window has launched click on the gear wheel located under the camera image to alter the camera and sound settings before joining the meeting.
- Settings should match the camera and microphone for the room or mobile setup
Changing settings once the meeting has started
Camera Settings
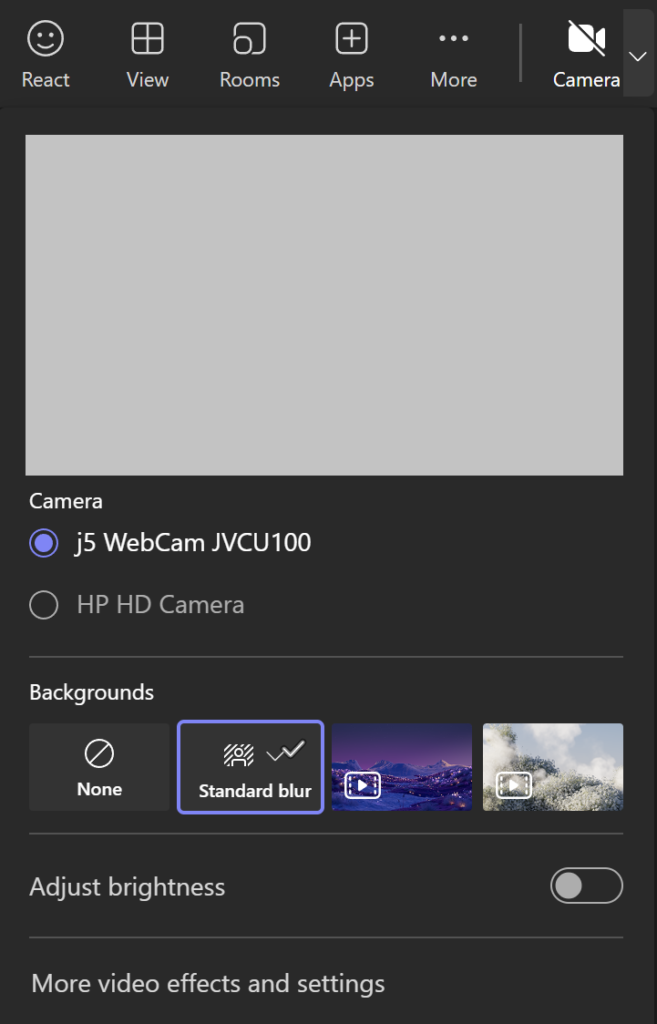
For Camera Settings, ensure that you select the appropriate camera for your space.
Reminder: In fully upgraded spaces you can access multiple camera angles. To change the camera view during a Teams meeting, click the camera swap icon int he lower right corner of the Teams meeting window until the desired view is obtained.
Speaker and Microphone Settings
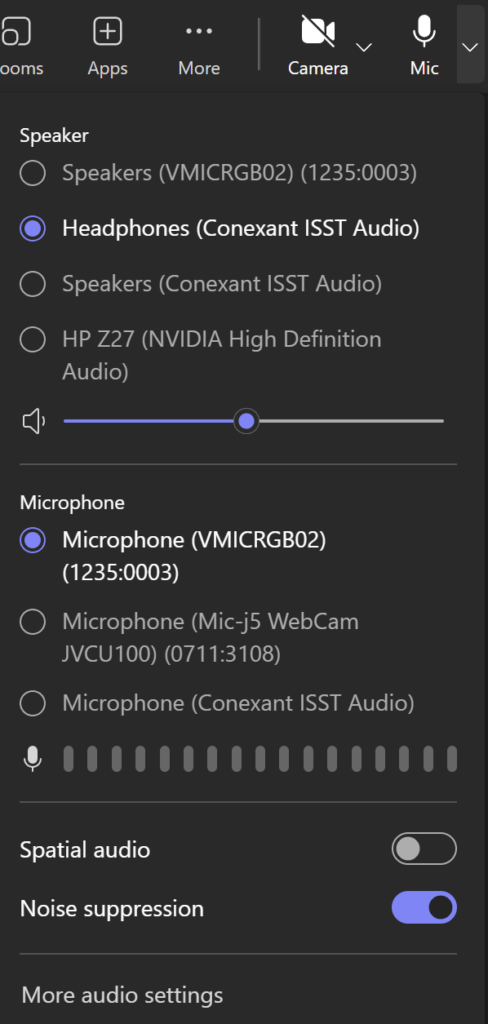
For “Speaker” choose Echo Cancelling Speakerphone – HDL300
For “Microphone” choose Echo Cancelling Speakerphone HDL300
Audio Settings

- Click the 3 dots in the top right of the navigation bar for More Options
- Click “Device Settings”
- For “Audio Devices” choose HLD300