
What can we help you with?
Screen Recording
You can record your screen, with or without a talking head style presentation. While free and open source recoding apps are available, you already have access to a number of ways to record your screen.
Microsoft Stream
Stream is Microsoft’s built in video hosting service. It allows you to host, share and store your videos on SharePoint like any other file you host through your OneDrive.
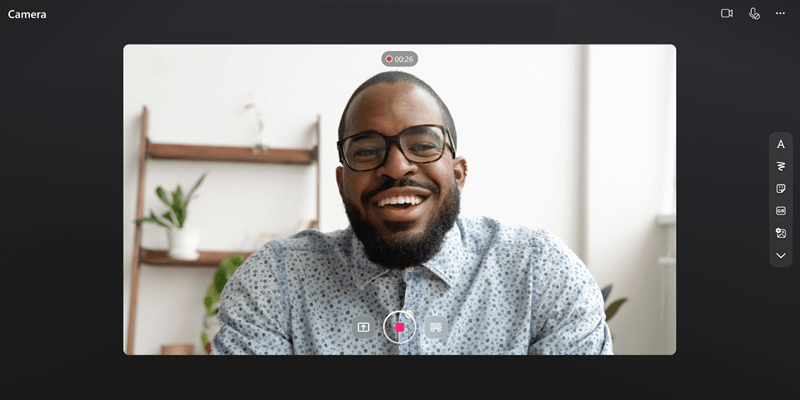
Stream users can create a new video starting from the Stream Start Page or Stream Web App. Follow the instructions below to create your own:
- Navigate to Stream from Microsoft 365.
- Select + New recording. This will open the camera.
- Select your desired webcam, microphone, and screen share settings.
- Choose any effects you’d like in your video: Filters, Background blur, Stickers, and more.
- Select the circular capture button to begin recording or pause recording.
- Select Next in the bottom righthand corner.
- Select the progress bar and drag handles to Trim your recording.
- Review your recording and click Retake to rerecord or Publish to upload to your personal OneDrive folder. You can also Download your video by selecting the arrow at the top right of your screen.
- All set! Your video is now available in your personal OneDrive folder and ready for you to share.
Uploading your content to Stream directly from Teams or from your computer is convenient, and Steam will let you create chapters, and trim the beginnings and ends (to remove all that pesky dead air!). However, the program is not robust enough to edit within the video itself. To do so, you must download the video, edit and then reupload the video. The only editing that Stream will allow you to do after recording is trim the beginning and end.
PowerPoint
Just recording a PowerPoint presentation? You can record yourself with just audio narration, or with a talking head? You can record directly in PowerPoint. This will add an audio file to your slides, it does not create a recording of a presentation in the way other software might allow you to speak during transitions, etc.
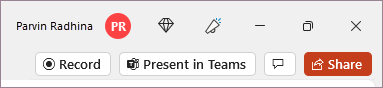
- When you’re ready, select Start recording and a countdown will begin.
- Use the onscreen laser, colored pens, or highlighters in the tray below markup slides and it’ll record as well.
- To record narration for a specific slide, use the previous or next arrows.
- Note: Narration won’t record during slide transitions so let those play first before you start speaking.
- Pause the recording as needed or select Stop if you’re done.
- To review the video, select the Play button. Not good enough? Select Retake recording to record again.
- To clear recordings, choose the Select more options icon and then got to Clear Recordings > On Current Slide or On All Slides. This will clear narration, video, and any inking.
- When you’re done, select Export > Export Video.
- After you successfully export the video, you can view the video by selecting View and share video.
Editing a Video recording from PowerPoint, Stream or Teams
Without the ability to trim, silence, or edit throughout the recording, you’ll need another video editor to trim, edit and stylize your video how you’d like. While you can use ClipChamp and QuickTime Editor, as described below, for editing, you can also use
- iMovie
- Adobe Premiere Pro (with a license)
- Other Free Open Source video editors
ClipChamp
For Windows users, ClipChamp is the new built in video editing software for your PC. This software will let you screen record, and then edit your video right in the program! It will not, however, automatically upload to your video to your OneDrive, you will have to export the video and either upload it, or transfer it to a OneDrive folder location.
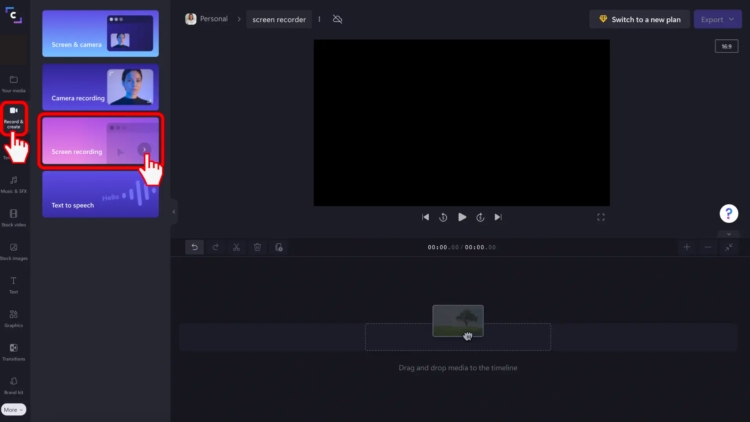
- Click on the record and create tab
- Screen record your video
- Save your screenrecording (or retake it!)
- Edit your screen recording audio
- Export your video
The Free version of ClipChamp does limit your screen recording sessions to 30 minutes. If you need to record a longer session, ClipChamp asks that you create smaller recordings and edit them together as one video for export.
QuickTime Editor
Mac Users can not only record their screens with the Shift-Command-5 feature. Doing so will record your screen, but not audio or access your webcam, if you’d like a more talking head style presentation or video.
- Open QuickTime Player from your Applications folder, then choose File > New Screen Recording from the menu bar.
- If you see the onscreen controls described above, follow those steps.
- If you see the Screen Recording window described below, follow those steps.
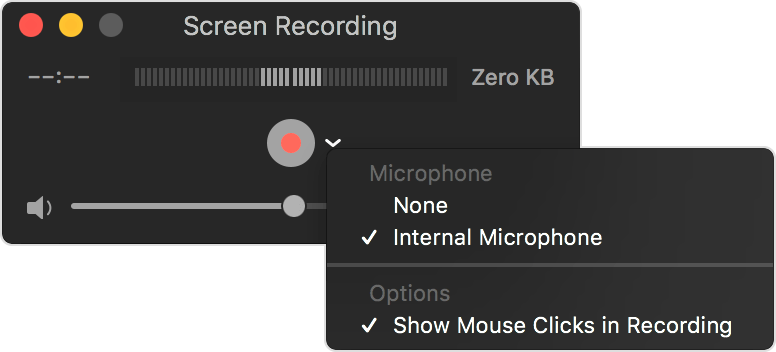
- Before starting your recording, you can click the arrow next to the Record button
 to change the recording settings:
- To record your voice or other audio with the screen recording, choose a microphone. To monitor that audio during recording, adjust the volume slider. If you get audio feedback, lower the volume or use headphones with a microphone.
- To show a black circle around your pointer when you click, choose Show Mouse Clicks in Recording.
- To start recording, click the Record button and then take one of these actions:
- Click anywhere on the screen to begin recording the entire screen.
- Or drag to select an area to record, then click Start Recording within that area.
- To stop recording, click the Stop button
 in the menu bar, or press Command-Control-Esc (Escape).
 - After you stop recording, QuickTime Player automatically opens the recording. You can now play, edit, or share the recording.