
Editing/requesting sites on Inside
To edit a site (you must log in before you can be assigned as an Editor)
- Click Log In in the main menu
- Choose Log in with Microsoft (watch the video login required)
- Complete our form to request editing access to your site or request a new site
- Wait for notification that you have been granted editor access (this may take up to 48 hours)
- Go to My Sites (upper left) after being notified that you are an editor and logging in
- Hover your cursor over the name of your site and select Visit Site in the pop-out menu
- Navigate to the page you want to edit and select Edit Page
If you believe that information on a site needs to be updated, please refer to the A-Z Site Listing page to find a link to an Excel document listing the editors for each site.
Linking to documents
Unlike the wiki or the old website, files are not being uploaded to Inside. Files that need to be made available through a link will need to be uploaded and managed in a department SharePoint site associated with a department team. If you do not have a department team use the request form to indicate that you need a department team. If you have a department team already use the form to indicate that your team needs the ability to generate an “Anyone with the link” sharing option (usually grayed out). Once the file is in the Documents area of the SharePoint site for your team you can follow the steps in this video (login required) to get the “Anyone with the link” or “People in the College of Wooster with the link” links to add to your Inside site. Be very careful to only use the “Anyone with the link” link for files that are to be public.
Have a request other than editing access or adding the “Anyone with the link” sharing option, please use the request form to submit it.
Support Videos
We are creating some videos specific to Inside Wooster to provide tips and tricks that are specific to our setup and hosting them in our SharePoint. For example:
Making your Web content accessible
The College strives to have all Web content meet the Web Content Accessibility Guidelines (WCAG) 2.1 AA, and requires content to meet WCAG 2.1 A standards. WCAG is developed through the World Wide Web Consortium (W3C) and is intended to provide a framework for making web content more accessible to individuals with disabilities. WCAG is developed around four principles to make content:
- Perceivable – Information and user interface components must be presentable to users in ways they can perceive.
- This means that users must be able to perceive the information being presented (it can’t be invisible to all of their senses)
- Operable – User interface components and navigation must be operable.
- This means that users must be able to operate the interface (the interface cannot require interaction that a user cannot perform)
- Understandable – Information and the operation of user interface must be understandable.
- This means that users must be able to understand the information as well as the operation of the user interface (the content or operation cannot be beyond their understanding)
- Robust – Content must be robust enough that it can be interpreted reliably by a wide variety of user agents, including assistive technologies.
- This means that users must be able to access the content as technologies advance (as technologies and user agents evolve, the content should remain accessible)
What does this mean for you? Generally, the WordPress software and our associated theme will handle most of the work in meeting WCAG 2.1 AA for the interface. This means that you need to focus on the content you put on your pages. To help you here is a short list of tips:
- Use the heading block when you intend something to be a heading. The page title is heading level one and generally the other headings on the page will be heading level two, sub headings would be level three, and so on.
- Make sure all images you upload have alternate text.
- Make sure any videos you feature on your page have captions (YouTube and Microsoft Stream both provide ways to auto-generate captions).
- Make sure any audio files you feature have a way for users to get the transcript.
- Make sure that any color combinations you use pass the contrast test (if you have one color over another such as text on a background).
Editors are strongly encouraged to watch the LinkedIn Learning course Creating Inclusive Content to learn even more about ways to make their websites more inclusive and accessible.
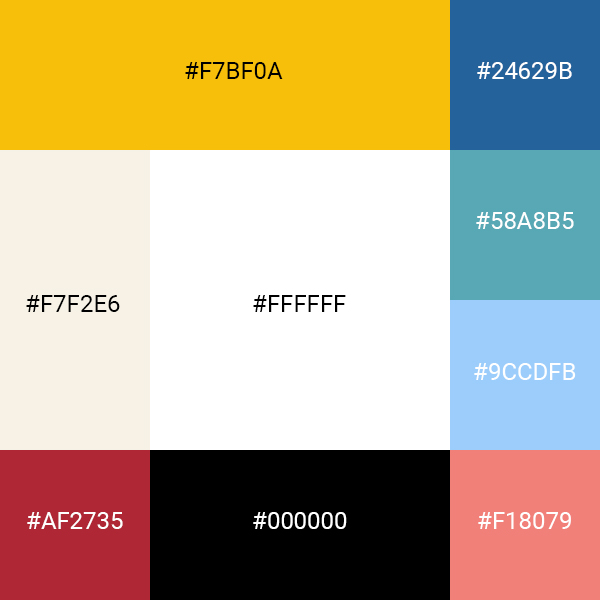
Web Colors
Fonts
Style Guide
Gutenberg editor
The most recent versions of WordPress use a new editing paradigm that is based on modular content blocks and is referred to as Gutenberg. This block based approach allows individuals to create rich content layouts without the need to know HTML. Watching the following videos should give editors a solid understanding of how to create pages and posts. If the video refers to the classic editor, you can ignore that portion as Inside does not have the classic editor enabled since it will be retired in an upcoming WordPress update.
Posts vs Pages
You should use pages for most of your site’s content as for most Inside sites the content is “timeless” or relatively static. You might decide to use a post if you were announcing an upcoming event or sharing news about your office/department. In the future we will be automatically pulling such news/announcement posts to the homepage of Inside as we are for the main Wooster site.

WordPress
Inside Wooster uses the WordPress platform for content creation. For those unfamiliar with WordPress, you can learn more about WordPress from this introductory video (feel free to skim and jump around).