
Here are some suggestions and tips for when you set up your Teams.
Things to Consider Before Creating a Team
- Who do you want to collaborate with in Teams?
- How will you use your Team?
- What is the purpose of your Team?
- What permissions will you give your team members?
- Do you already have an Outlook Group for the team members?
- If not, would the team members benefit from a shared Outlook email Inbox (an email address that messages all group members) and/or a shared Outlook calendar?
- We highly recommend you create an Outlook Group FIRST, and then create a new Team based off that Group.
Taking the Steps to Setup Your Team
What are the next steps that you need to take in order to set up your Team for the best success? Follow the tips below to aid in your set up.
Step 1: Work in Channels for Effective Organization
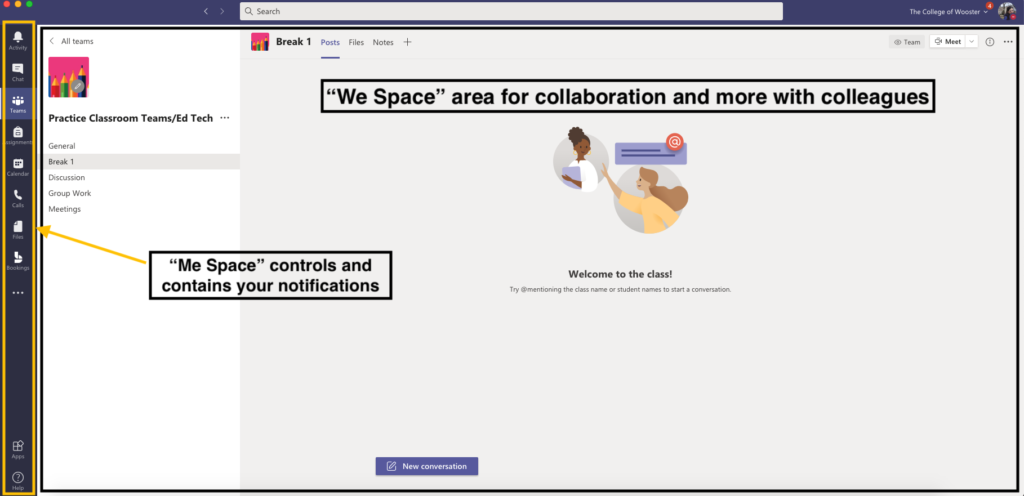
Microsoft likes to refer to the space in Teams for collaboration as the “We Space.” This is the main part of the dashboard where conversations take place with students or colleagues. It is also the place to share files, assignments, shared documents, and notes.
There are many ways to customize the Team, and that starts with adding channels.
- Each Team comes with a General Channel (we recommend using the General Channel for generalized conversations to avoid clutter)
- Create channels for your Teams that will help you all work more effectively
- If you have a class Team, you might create channels that are named after units or themes.
- A file folder in SharePoint is automatically created with the same name as the channel
- Only ~10 channels are visible at one time in Teams, so create a channel for your top 10 priority topics/folders
- If you already had an Outlook Group or SharePoint site before creating the Team, consult with the HelpDesk or Educational Technology on creating channels/connected folders and reorganizing folders and files in SharePoint for easy access in Teams.
- Create a channel for scheduled meetings so the General channel is not overwhelmed with notifications
About Private Channels
While most channels organize content, private channels can also organize people. When you create a private channel, you select who can see the content of the channel. Private channels are ideal for small group work and group projects, and to work separately in departments, divisions or subject areas.
However, private channels cannot be used to record videos from meetings at this time.
Step 2: Share and Collaborate with Files
Teams makes it easy to share files with colleagues and students. Every channel has its own Files Tab where you can add files to share with Team members. This Files Tab in the Team is also a file folder in SharePoint working behind the scenes to make it easy for coauthoring the files.
- Create and add files/folders directly to the Files tab so everyone in the Team can access
- Work on Word, Excel, PowerPoint and other documents from the Files tab to allow easy coauthoring and collaboration
- For Class Teams, add any files that you want to be “Read Only” to the Class Materials folder in the General Channel
Step 3: Stay Connected with Messages
The Posts tab in each channel is the communication hub for your Team. Teams automatically creates a Posts tab in the General channel and any other channel created for the Team.
- Post messages in the channels about that particular topic; reserve conversations not related to that topic to Chat
- @mention your Team by the Team name or individuals to get their attention about an idea
- Use the Posts tab to share news, post articles, and share links to resources and more to your class or colleagues
- Consider what type of guidelines would you plan to establish to ensure students’ conversations are productive and appropriate
Step 4: Personalize Your Team with Apps
While your Team already comes with items that can help you to organize and collaborate, there are even more resources that you can add by using apps and tabs. Apps come built into Microsoft Teams that you can add to any channel. Some examples may include:
- For a Staff Team who frequently uses a Word Document, you may add that document as a tab to one of your channels.
- For a Class Team you might add a Form
Step 5: Organize with OneNote
When you create a Class, a Staff, or a Professional Learning Community Team, a OneNote Notebook is automatically created for the Team. The OneNote Notebook is a digital notebook for your entire Team to store text, images, handwritten notes, documents, links, voice, video, and more. OneNote can help you to keep everything organized.
For example:
- Staff Team may use it for meeting notes
- Project work
- Students can do homework, take notes, or collaborate in the Collaboration space