
Whether you’re filming on your phone or editing a project for class, clean-looking video makes a big difference. CapCut offers a simple set of tools that anyone can use to instantly improve their footage. In this quick tip, I’ll walk through how four basic adjustments can transform a flat clip into something polished and ready to share. By focusing on just Temperature, Tint, Saturation, and Contrast, you can improve the clarity and feel of nearly any video. Below, we’ll look at how to access these tools and how each one contributes to a cleaner final look.
Getting to the Adjust Tools in CapCut
Before we start adjusting colors, we need to navigate to the right workspace in CapCut.
- Open CapCut and create a New Project.
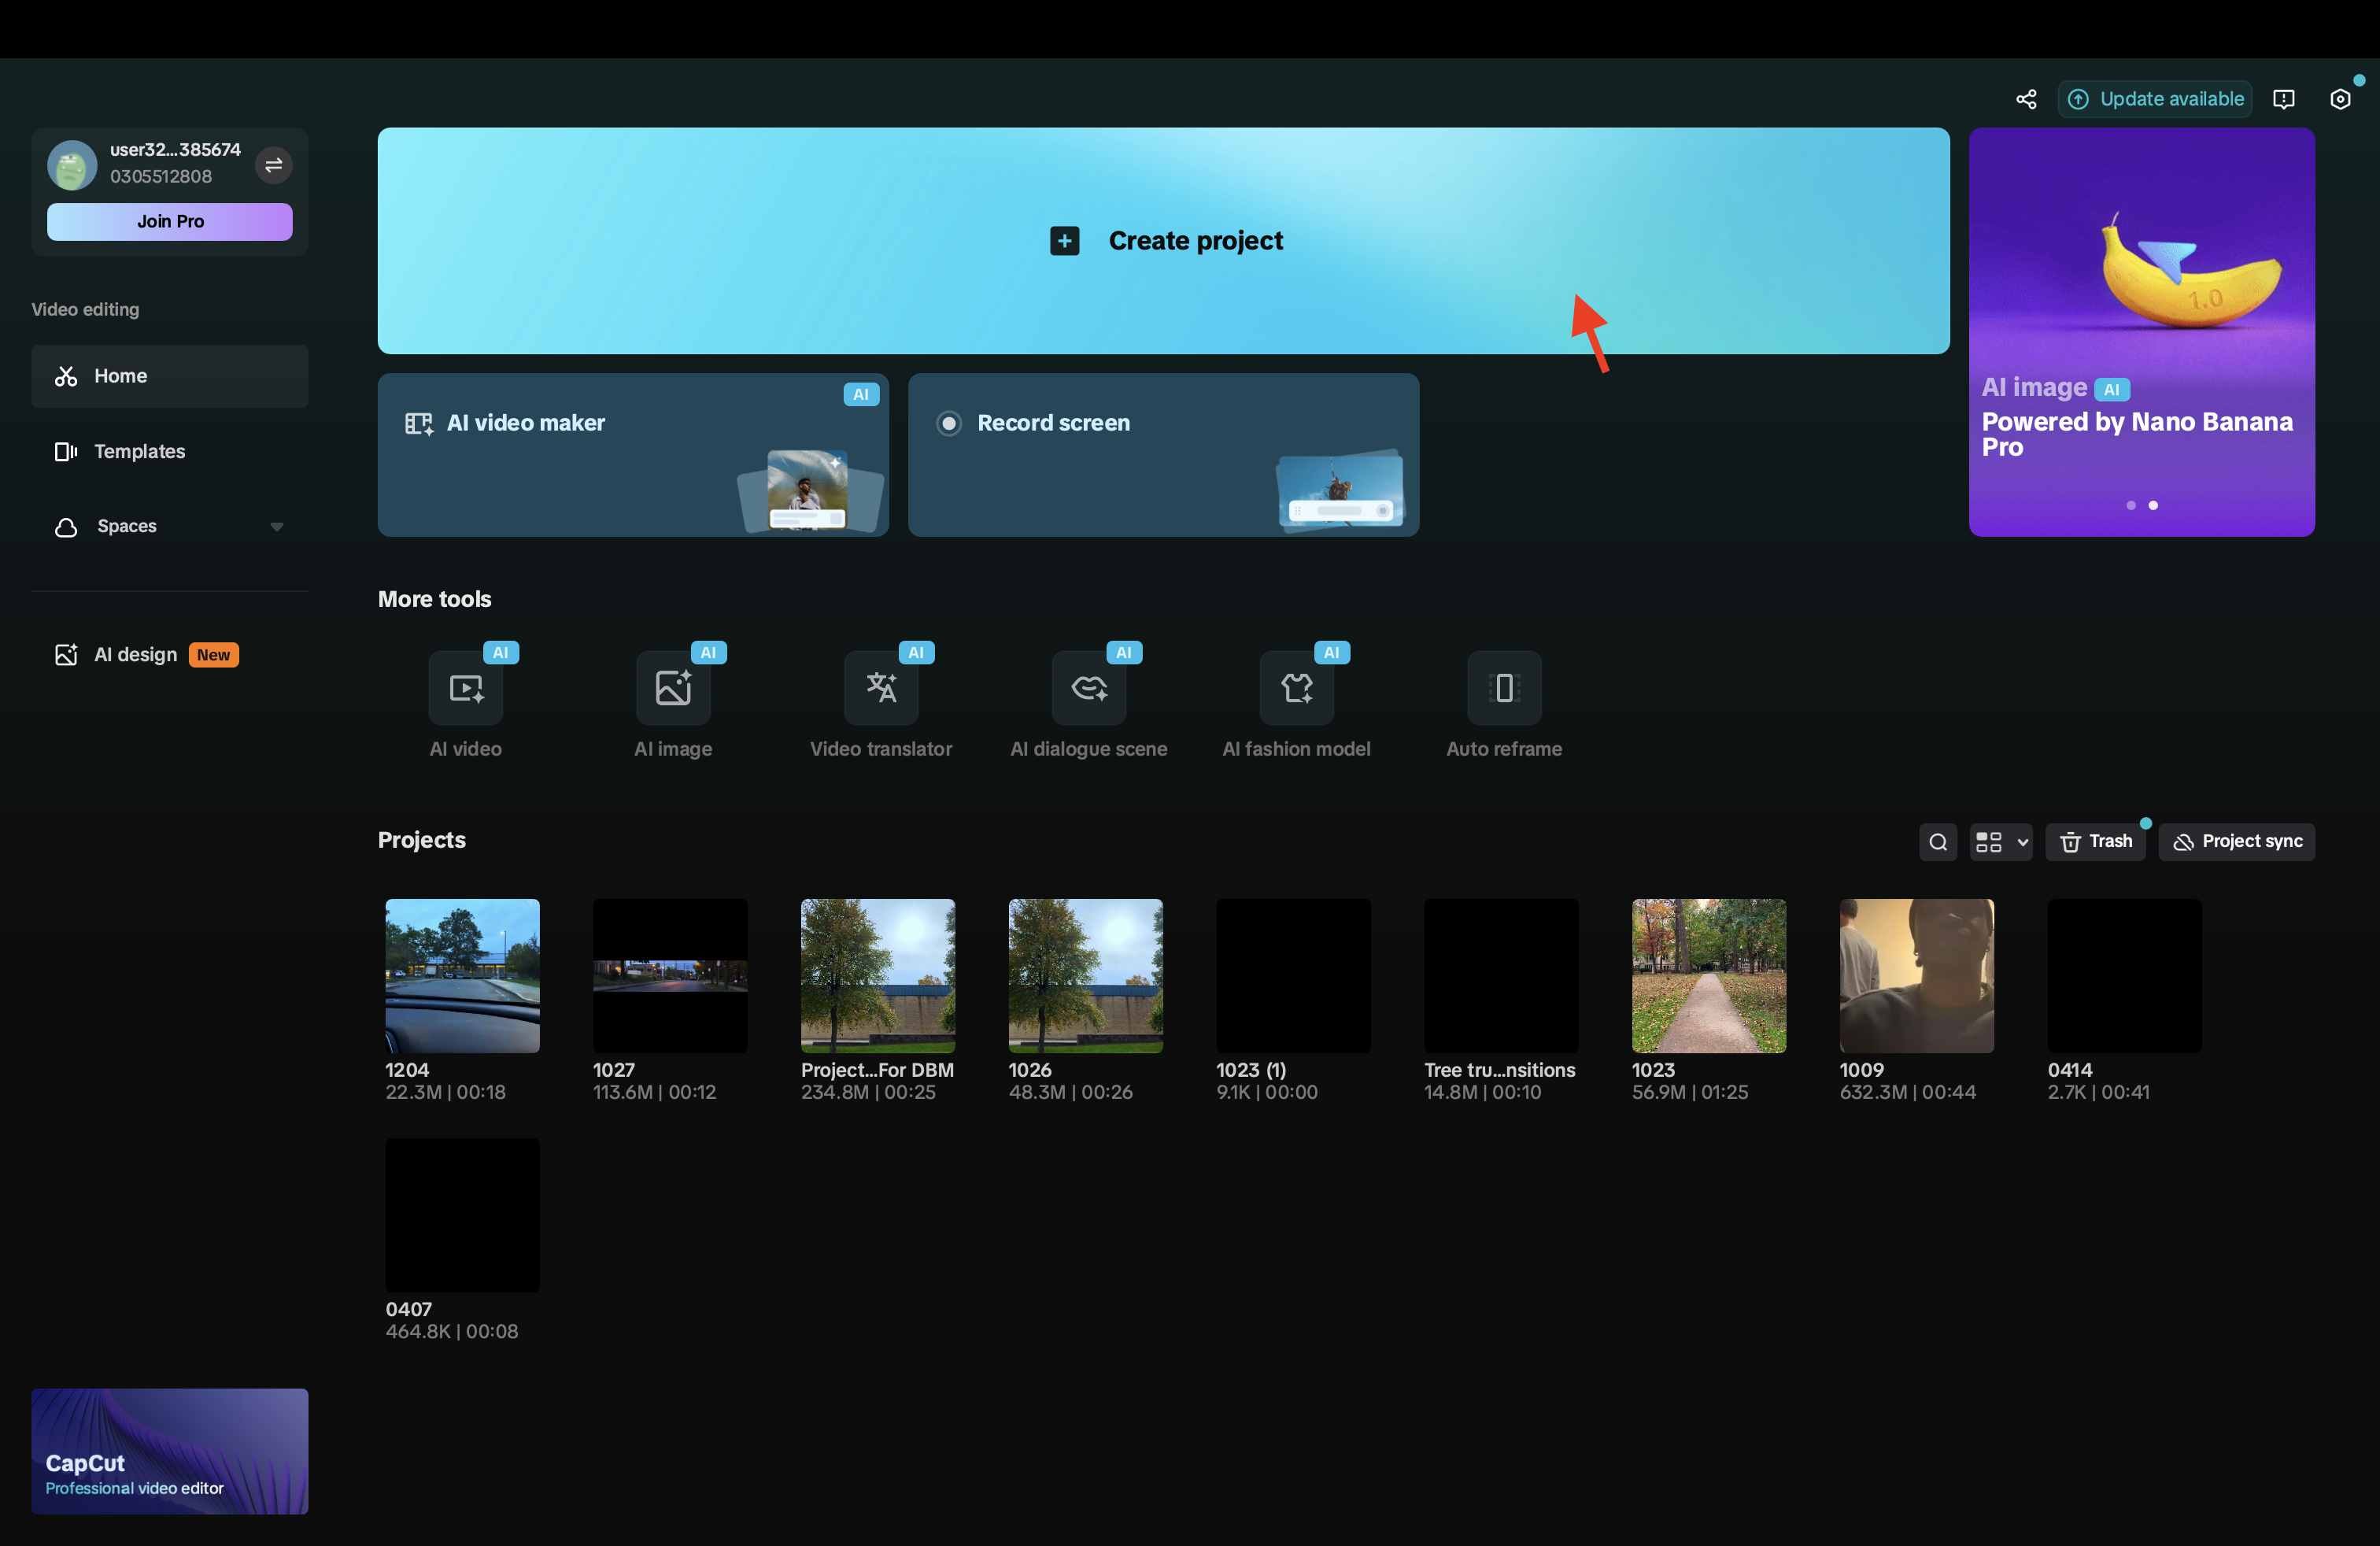
- Import your video clip into the timeline.

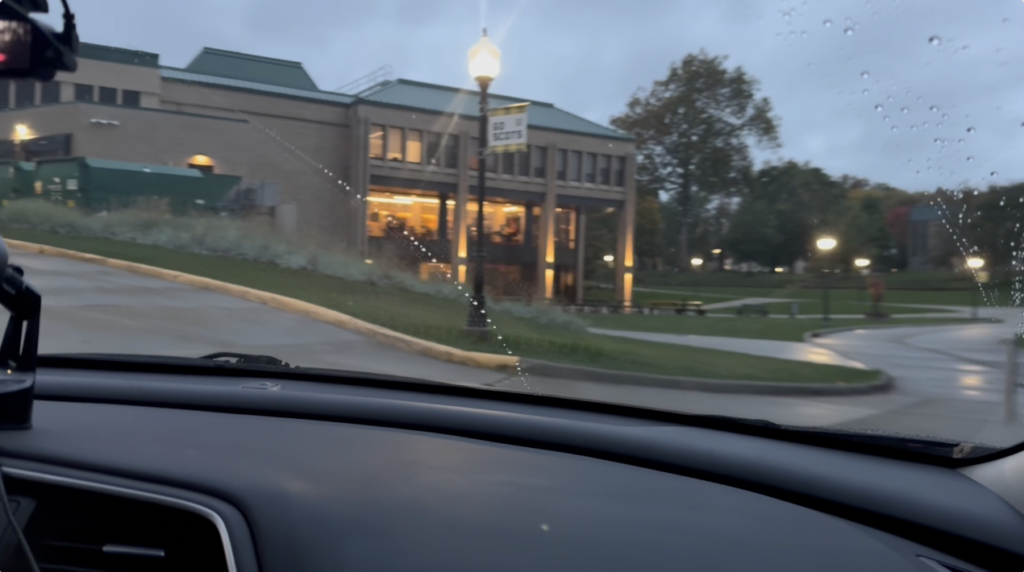
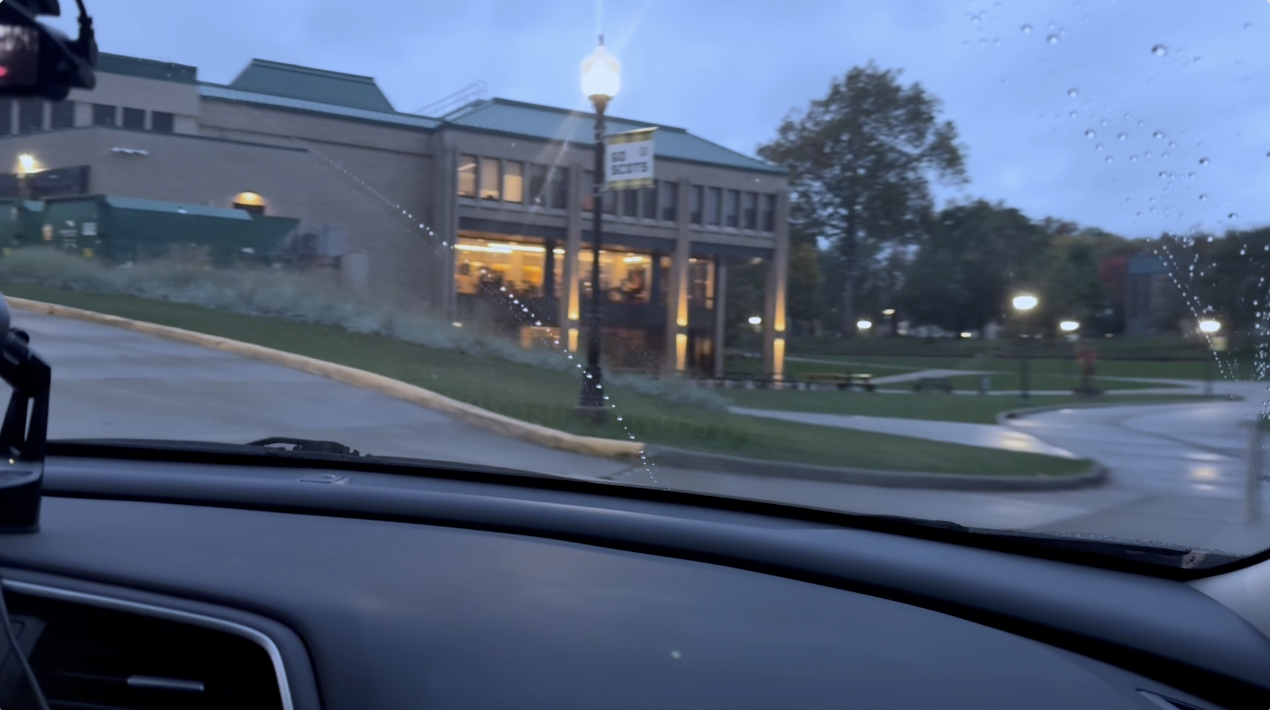
Temperature: Adding Warmth and Life
Temperature controls how warm (yellow) or cool (blue) your footage appears.
Slightly warming a clip usually:
- Improves skin tones
- Makes outdoor footage more natural
- Reduces a dull or bluish cast
If your video already looks orange, you can cool it down instead. The goal is balance.
This opens CapCut’s color panel, the place where all color grading happens. You’ll see sliders for Temperature, Tint, Saturation, Contrast, Exposure, and more. For this quick tip, we’ll focus on the four adjustments that consistently make footage look cleaner with minimal effort. Temperature. Tint. Saturation. Contrast.
Using Four Simple Adjustments to Clean Up Your Footage
Below, we start with a raw clip and walk through how each slider contributes to a cleaner look. The key is making small, intentional adjustments. You can always add more, but subtle changes often create the best results.