Printing as a faculty or staff member
Printing overview
Wooster has implemented native printing through PaperCut as the primary print method for faculty and staff. This method will no longer require the PaperCut popup client. A printer deploy application will be available to assist with the setup of print queues. Mobility print will allow general purpose printing from Windows, Mac, IOS and Android OS using native print setup and release. For Windows computers, the mobility print uses the full featured print driver. Macintosh computers will use a generic print driver that will allow all formatting, color output, and duplexing. The generic driver will not provide access to stapling, sorting, folding or any higher order functions of the multi-function device.
What print queues are available
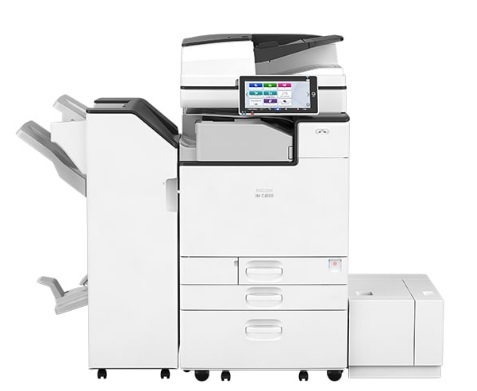
Each of the multifunction devices will be setup with four different queues depending on what is being printed and how it will be retrieved. The queues will be named with the three-character building abbreviation, the three-digit room number and one of the following suffixes:
- BW-Direct – all printer output is forced to greyscale; no color output is possible. The print job is tied to your default department for accounting purposes and printed automatically.
- BW-Release – all printer output is forced to greyscale; no color output is possible. The print job is held in the print queue until you go to the MFD, scan your ID card, choose a cost center and release the job. This type of printing would be used if you were printing a document and needed it accounted for in outside of your primary department, or if the document was of a sensitive nature and it should not set in the output tray before it’s picked up.
- Color-Direct – all printer output is printed with color available and uses page level detection. The print job is tied to your default department for accounting purposes and printed automatically.
- Color-Release – all printer output is printed with color available and uses page level detection. The print job is held in the print queue until you go to the MFD, scan your ID card, choose a cost center and release the job. This type of printing would be used if you were printing a document and needed it accounted for in outside of your primary department, or if the document was of a sensitive nature and it should not set in the output tray before it’s picked up.
To allow users to easily print while away from their preferred MFD, two additional queues have been setup that allow print jobs to be released on any MFD and are available to all faculty and staff. When you submit a job to either of these queues you will be able to go to any MFD, login, and find and release your print job.
- FS-BW-FindMe – all printer output is forced to greyscale; no color output is possible. The print job is held in the print queue until you go to the MFD, scan your ID card, choose a cost center and release the job.
- FS-Color-FindMe – all printer output is printed with color available and uses page level detection. The print job is held in the print queue until you go to the MFD, scan your ID card, choose a cost center and release the job.
Convenience printers will have the same names as they currently do and will utilize the same native solution as the MDF’s. When printing to a convenience printer, only the primary department account can be charged. Any print jobs that need accounted for outside of the primary department will need to be sent to a release queue on an MFD. Convenience printers will need to be added to each machine where they are needed.
Picking up my output.
If you print to a print queue with a name ending in “Direct” or one of the convenience printers, your output will automatically print on the assigned device. If you print to a print queue ending in “Release” you will need to login to the MFD using your COW ID card or entering the 10-digit number on the back of your ID. Once you login you will see a list of all the jobs you have waiting to be released. Choose the jobs you want released, choose the appropriate cost center and release your job.
Setting up printing
Please follow the appropriate instructions for printing
