
- MacOS
- Windows
- iOS
- Android
- Joining a class session (can practice before the meeting)
To visit a class remotely, you will have the best experience if you install the Microsoft Teams App before trying to join a class session.
Installing Microsoft Teams
MacOS
- From https://teams.microsoft.com/downloads, click “Download” at the top of the page and the operating system specific version will download. For Mac clients a PKG file will download.

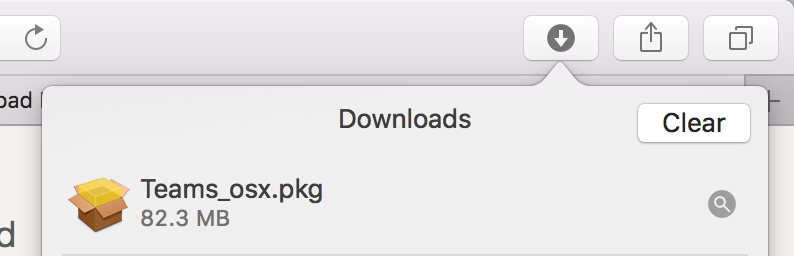
2. Double click the PKG file.
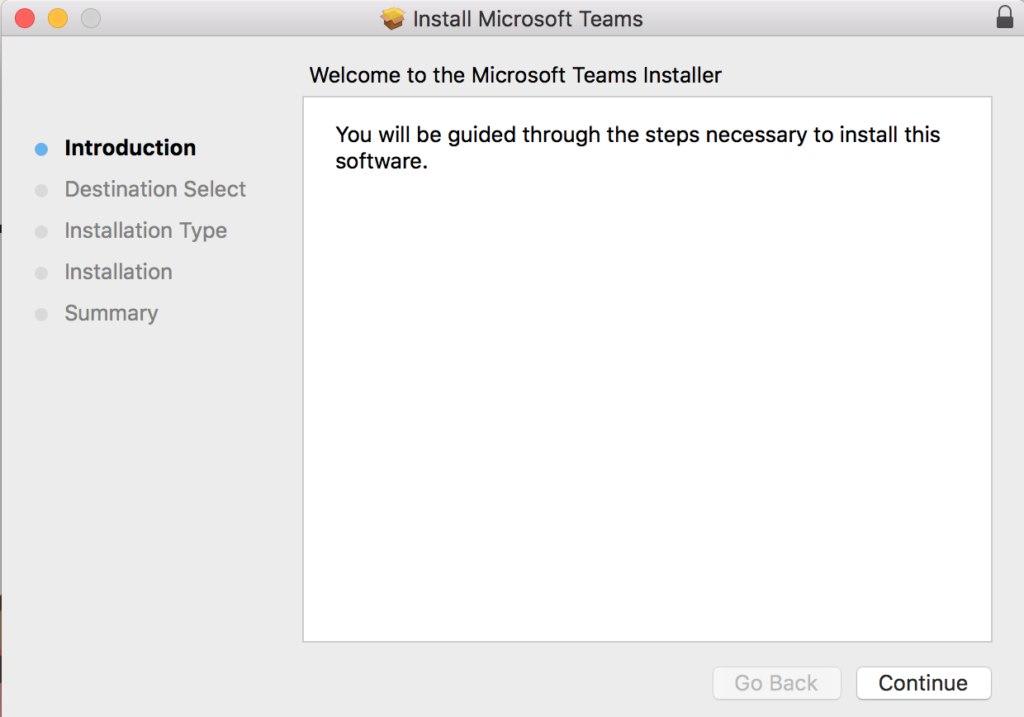
3. Follow the installation wizard to complete the installation.
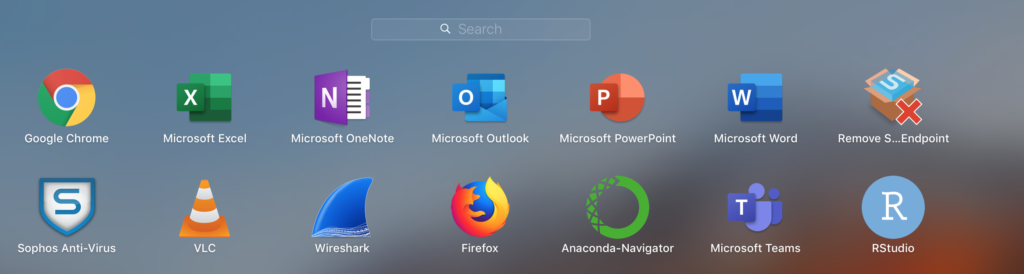
4. Teams will be installed to /Applications folder. It is a machine-wide installation.
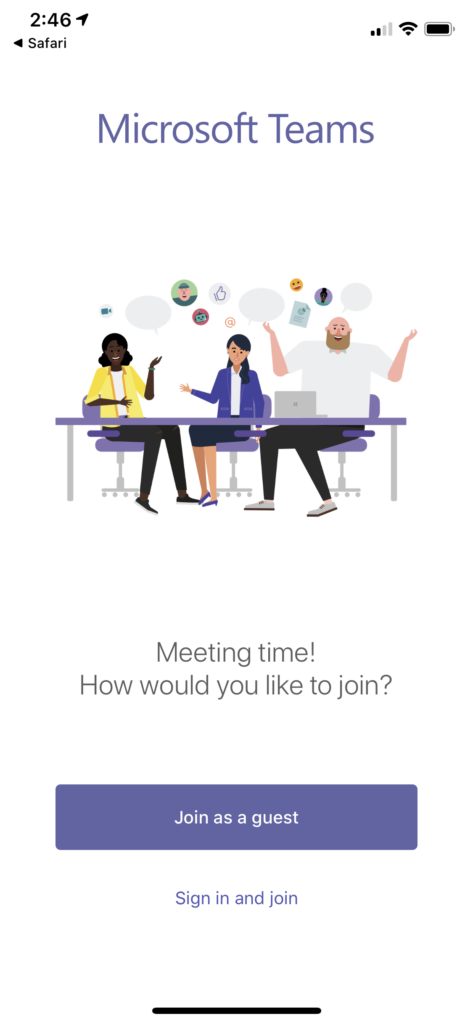
5. Choose the Join as a guest option when it is time to join a class session.
Windows
1. From https://teams.microsoft.com/downloads, click “Download” at the top of the page and the operating system specific version will download. For Windows clients an executable file will download.

2. Click “Save file” to download the file.

3. Open your Downloads folder and double click the “Teams_Windows_x64” file.

4. Choose the Join as a guest option when it is time to join a class session .
iOS
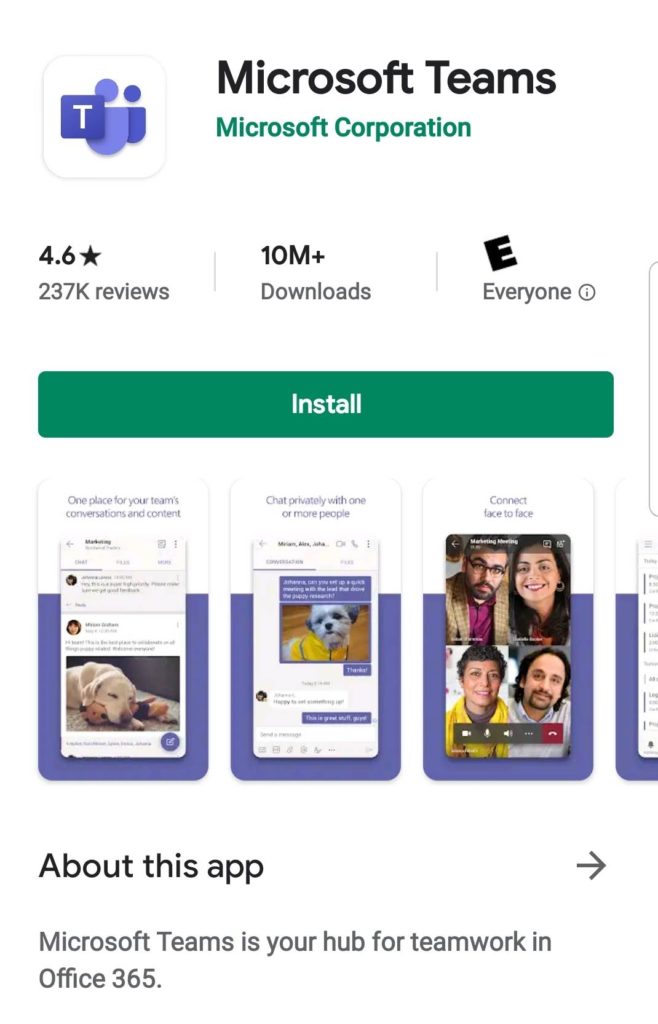
1. Download Microsoft Teams from the Apple App Store on your iOS device.

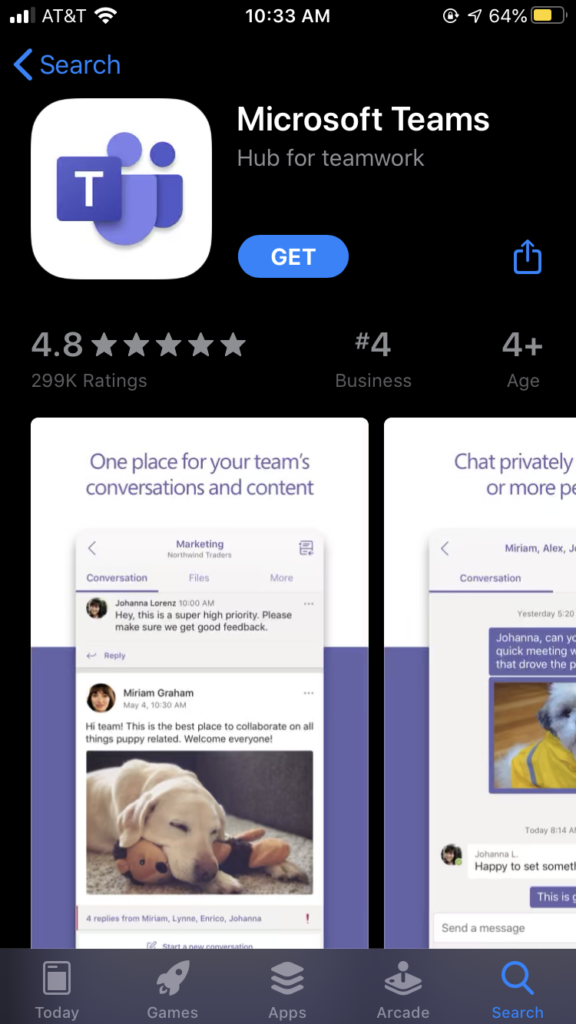
2. Select the Join as a guest option when it is time to join a class session.
Android
1. Download Microsoft Teams from the Google Play Store on your Android device.

2. Select the Join as a guest option.
Joining a class session
Microsoft Teams Client Application
Step 1: Navigate to the Join Microsoft Teams Meeting Invite
Find the Microsoft Teams Meeting invite that looks similar to the one below and click it. This invite will be available via your email’s calendar.
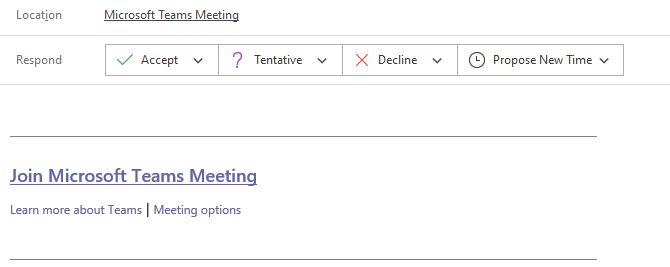
If you do not have Microsoft teams already installed, please click the link ahead of the scheduled meeting.
Step 2: Launch Microsoft Teams
Since you already have the Microsoft Teams application already downloaded onto your machine or mobile device, Microsoft Teams should automatically be prompted to open after you click on the invite. If it does not, choose the option that says “Launch Teams.” Microsoft Teams may ask you if it is okay for it to use your microphone and camera. Be sure to allow those options for the meeting

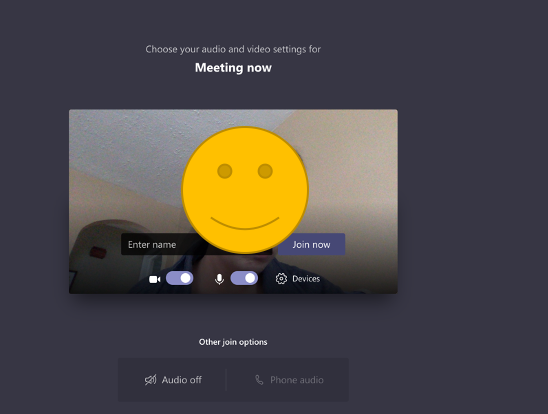
Step 3: Choose your audio and video settings plus enter your name
After clicking “Join as guest,” you will be prompted to enter your name to join. Also, while you are at it, the recommendation is to turn off your video/audio initially as a courtesy when you enter the meeting. Click “Join now.”
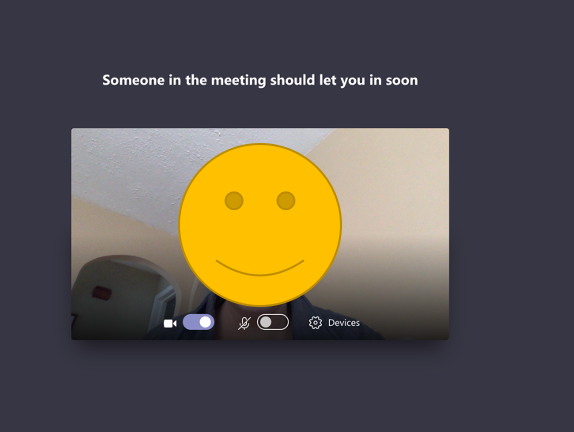
Step 4: Wait in the Lobby
After clicking the “Join now” button, entering your name, and you will be placed into the meeting lobby. The moderator will bring you into the meeting at the appropriate time.
Step 5: Check out the features in the task control bar
Hover over the the bottom of your screen and the task control bar will appear. This is where you can access features to participate.
- Chats
- Participants in the meeting
- Share your screen
- Share files via the chat

Troubleshooting When You Are in the Meeting:
- If the Wooster participants cannot see your video, click the camera on the task control to activate your video.
- If the Wooster participants cannot hear you, click the microphone on the task control bar and verify that your preferred microphone is selected.
- If you cannot hear Wooster’s participants, please verify that your speakers are turned up.